Survey Setup
Data Structure
- Client | Project - The top level of your data. You set this in Admin Portal.
- Site - The location where your data is being collected.
- Survey Collection - Groups for sorting your surveys, for example pre or post odour control, winter, summer etc.
- Survey - Where your measurement data is stored. Surveys represent your field sessions, for example daily, morning, afternoon or evening observation sets.
Log into the web app: app.plumemapper.com.au.
If you have set up the apps to sort by client in Admin Portal, you will see an empty client list.
Otherwise you will see an empty project list. Either way, click the button to add a new client or project to get started.
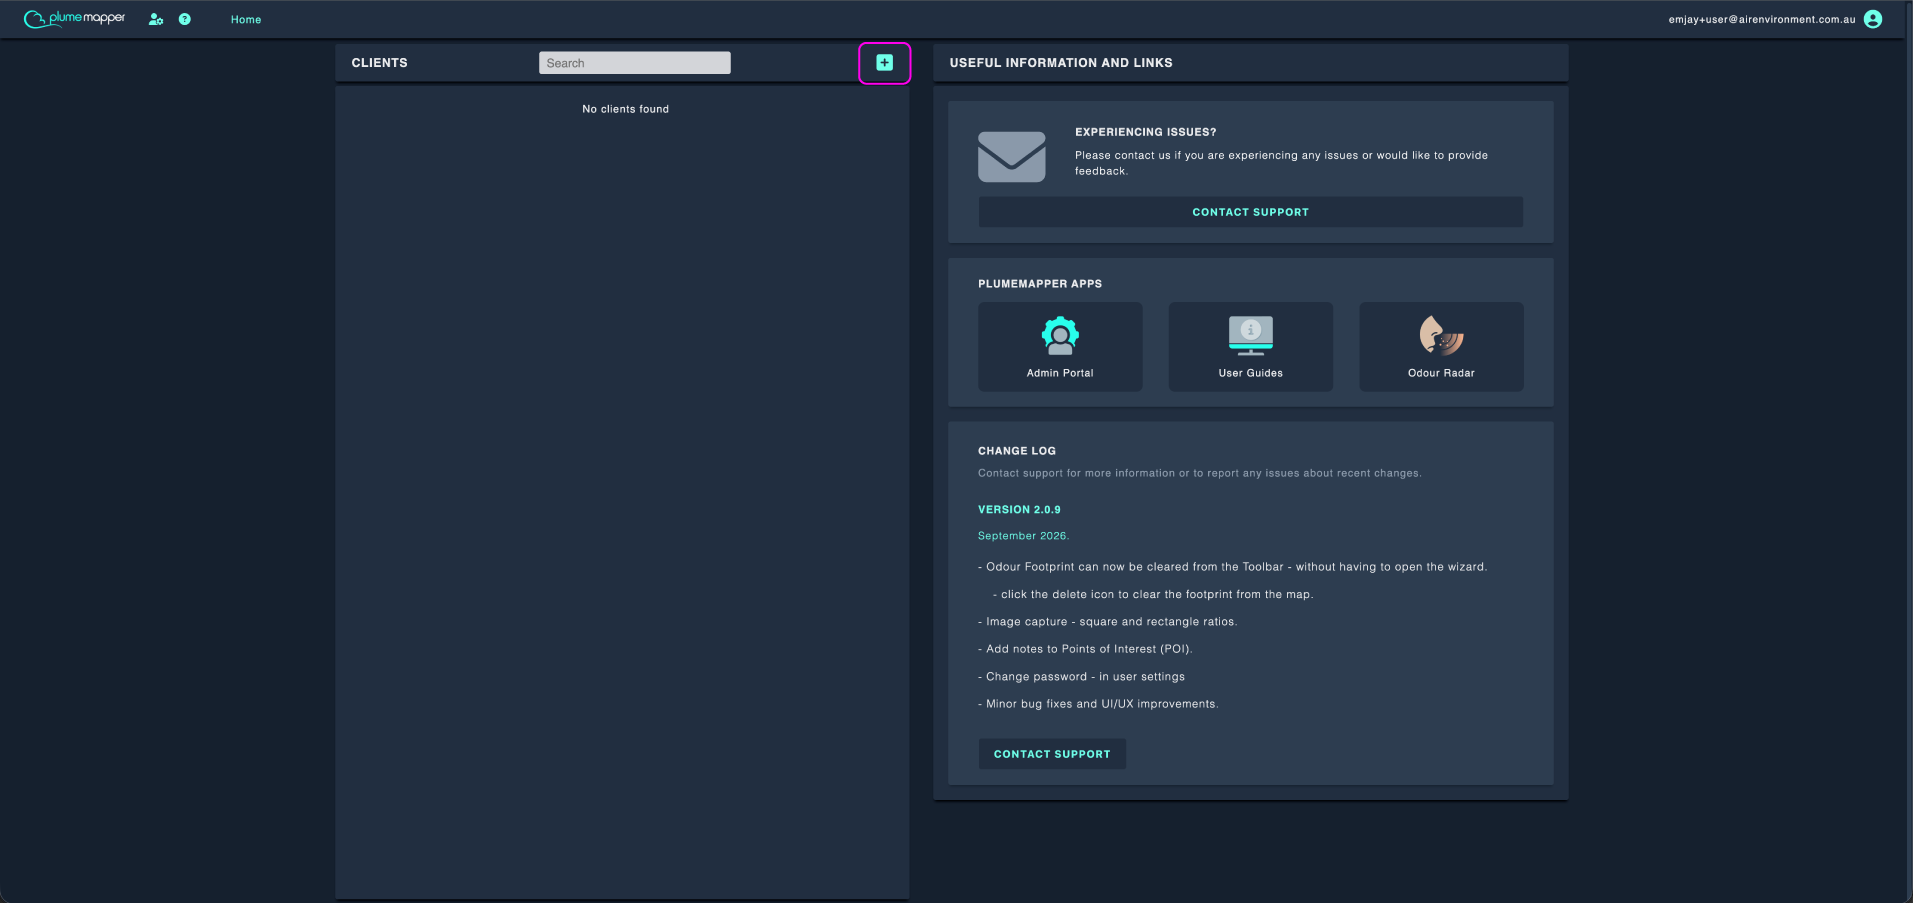
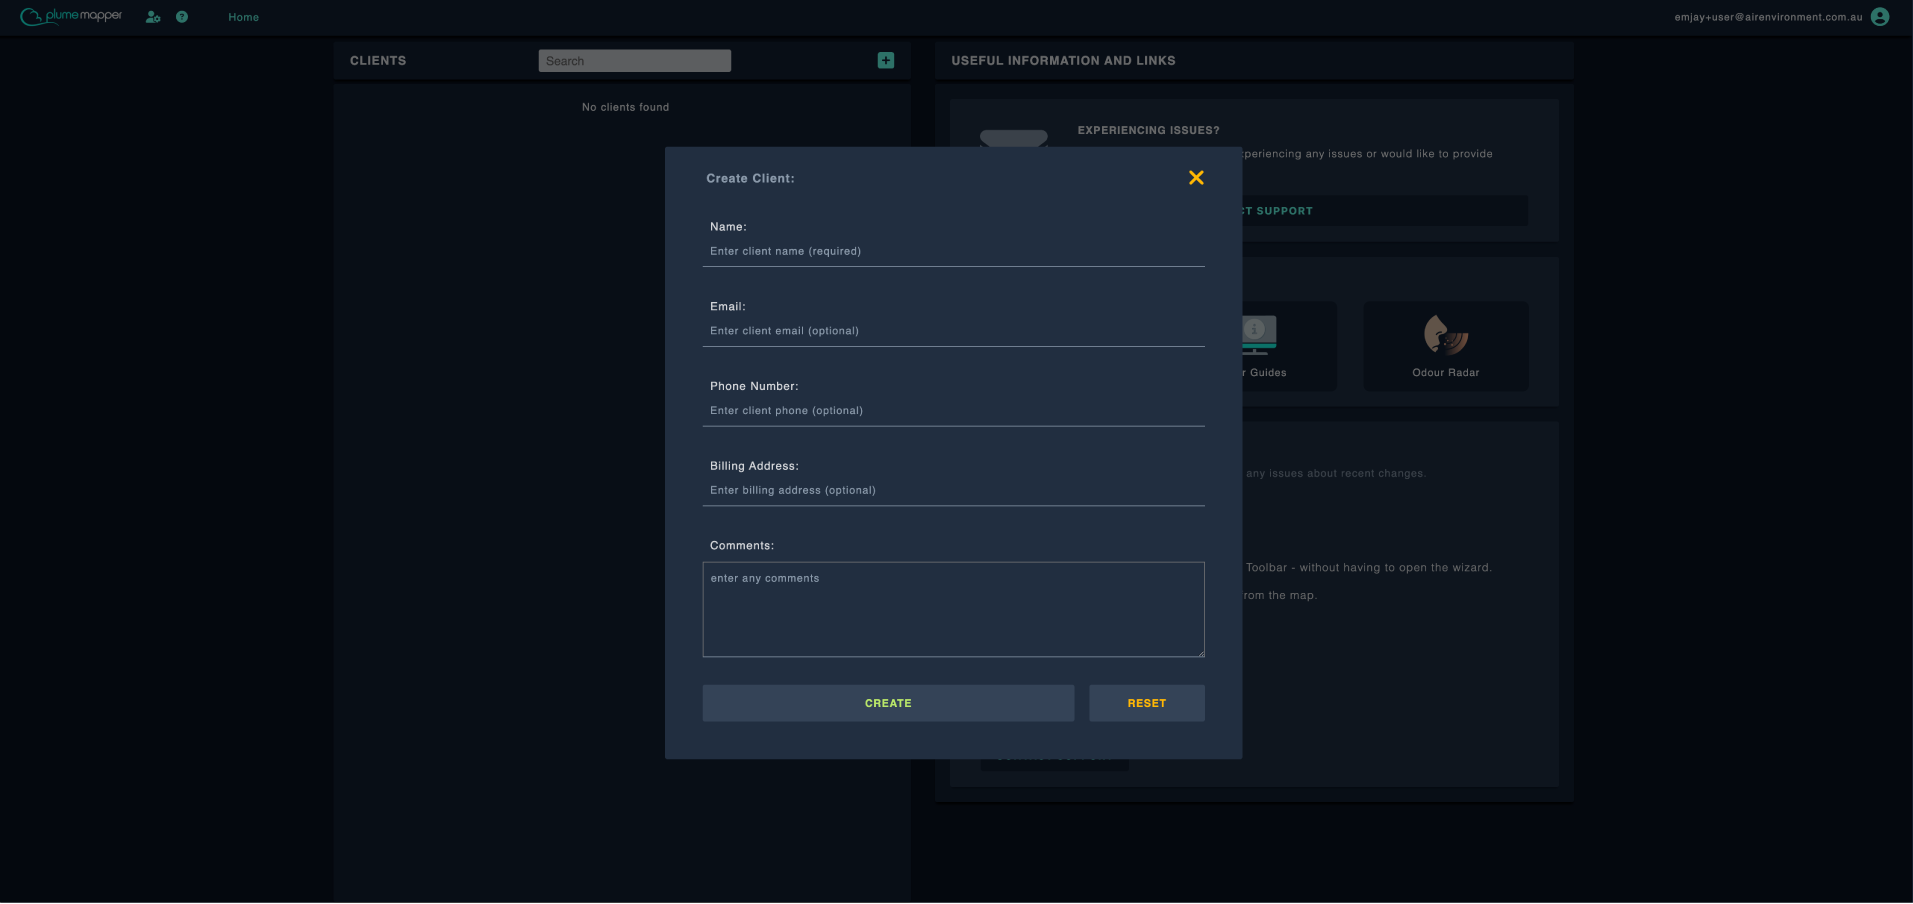
Add a New Client
The only required field on the new client form is the client name.
1. Enter the information as needed.
2. Click Create. Your new client will appear in the list.
3. Click the client to go to the client page.
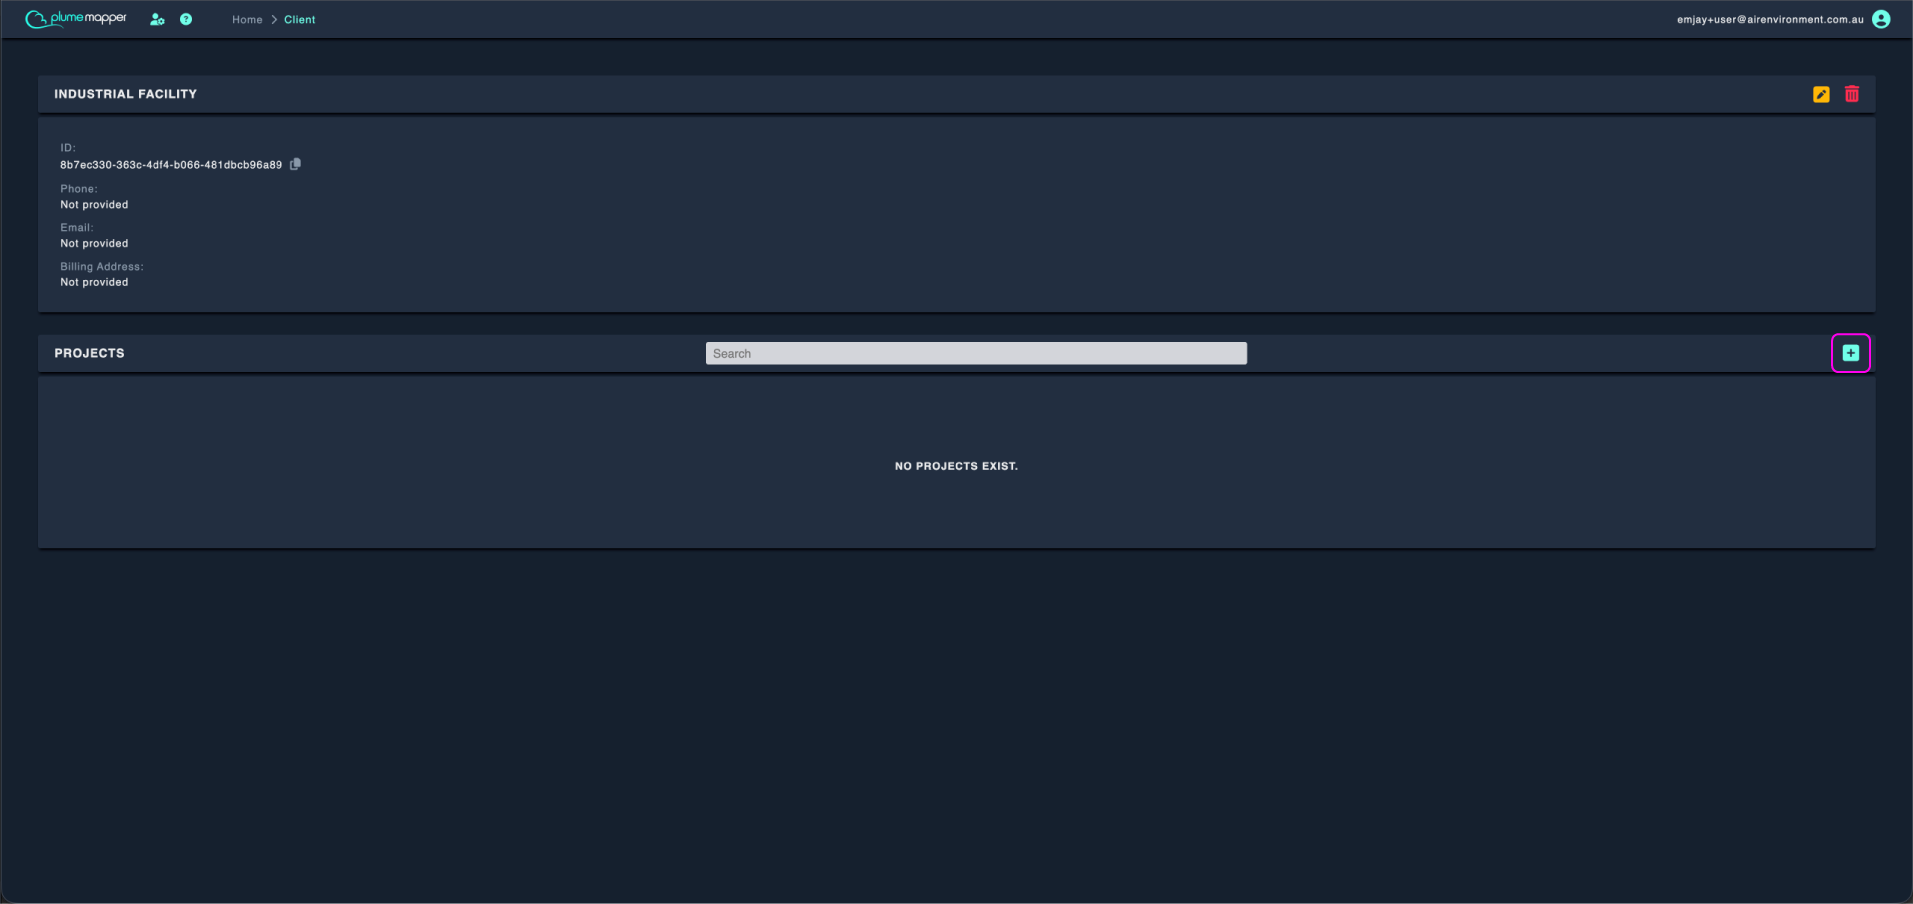
Client Page
You can edit or delete the client by clicking the or buttons respectively.
Click the button to add a new project.
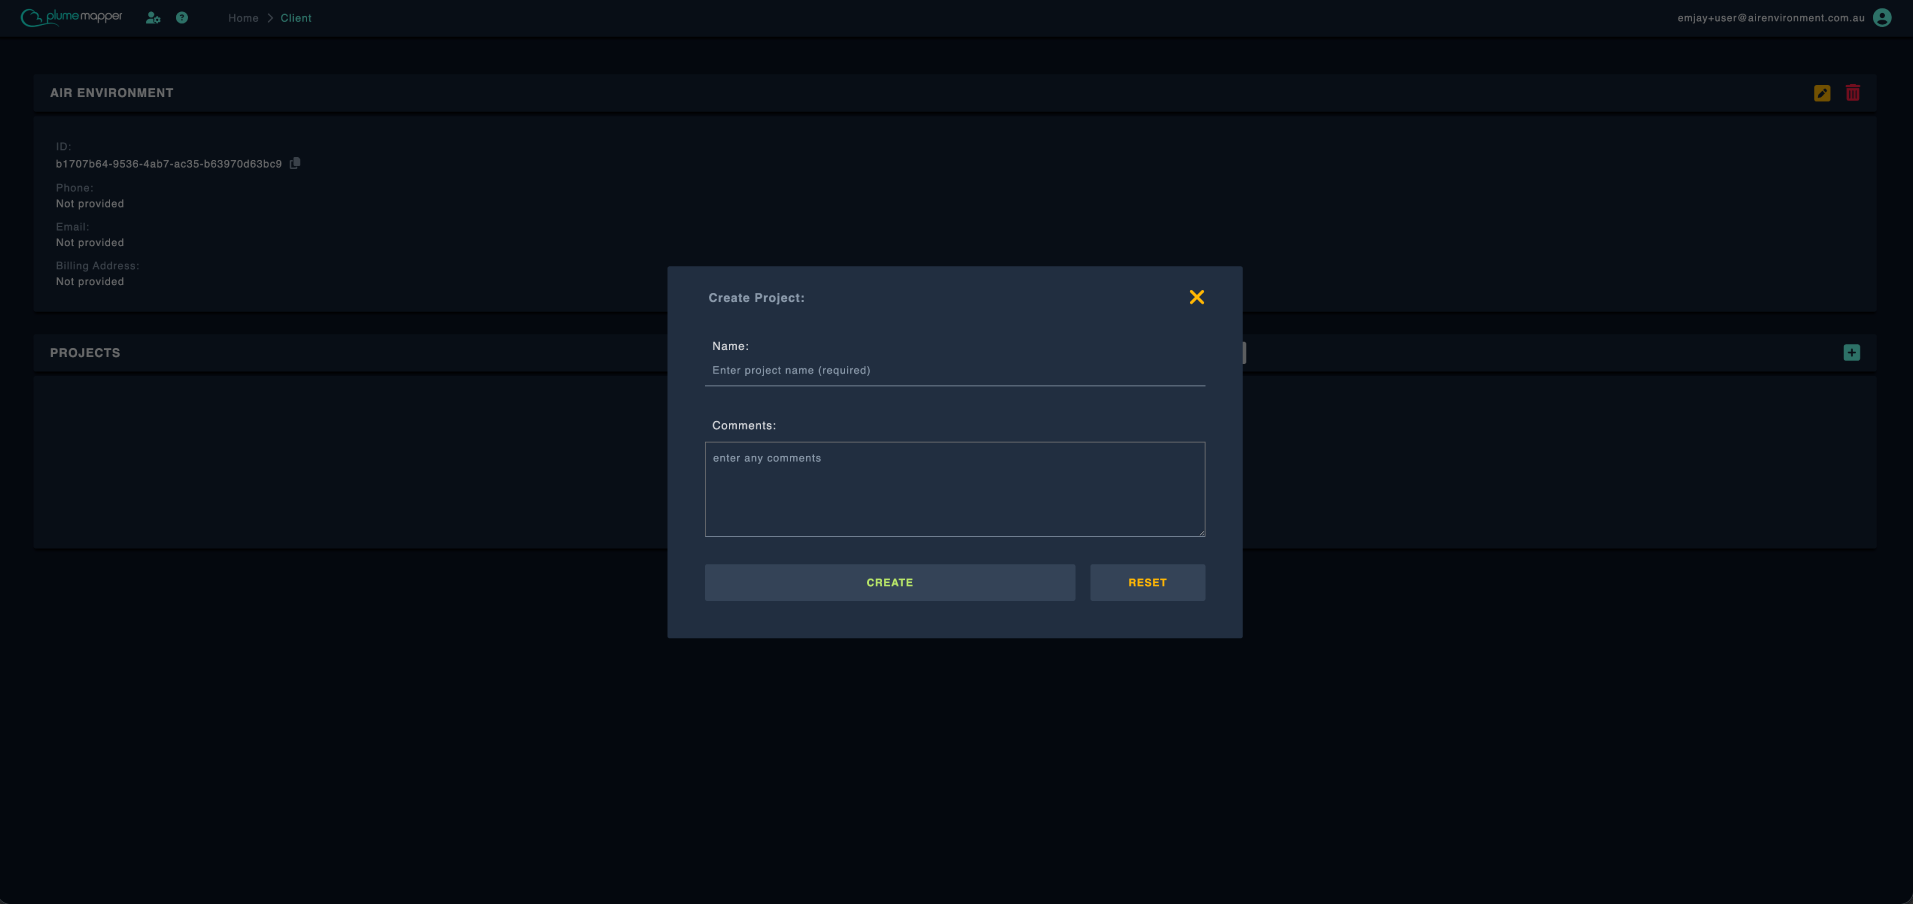
Add a New Project
1. Enter the project name and any comments.
2. Click Create. Your new project will appear in the list.
3. Click the project to go to the project page.
Project Page
You can edit or delete a project by clicking the or buttons respectively.
Click the button to add a new site.
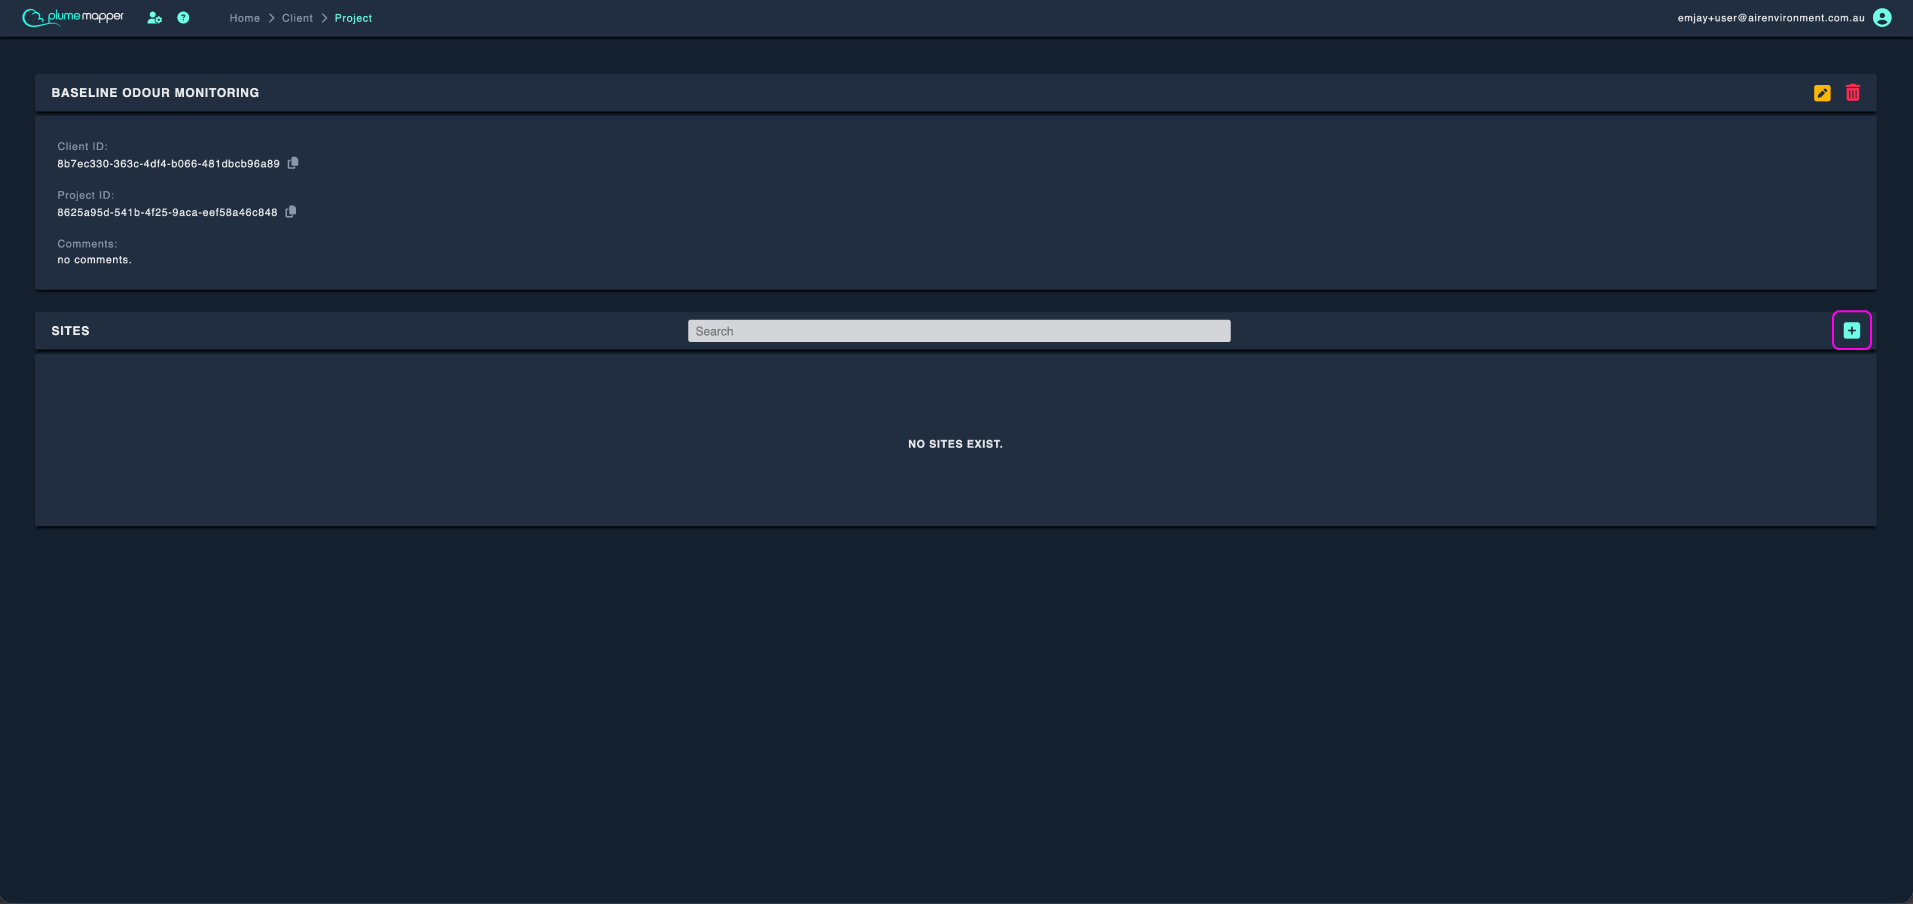
Add a New Site
1. Enter the site name.
2. If you have created or enabled custom scales in Admin Portal, they will appear here. Otherwise the defaults (German VDI scales) will be pre-selected.
3. Drag the map marker to the site location or enter the address in the input field and click .
4. If you have access to OdourRadar with the premium subscription tier, you can enter the report range and select the people who will be notified when reports are created within the specified range.
5. Click Create. Your new site will appear in the list.
6. Click the site to go to the site page.
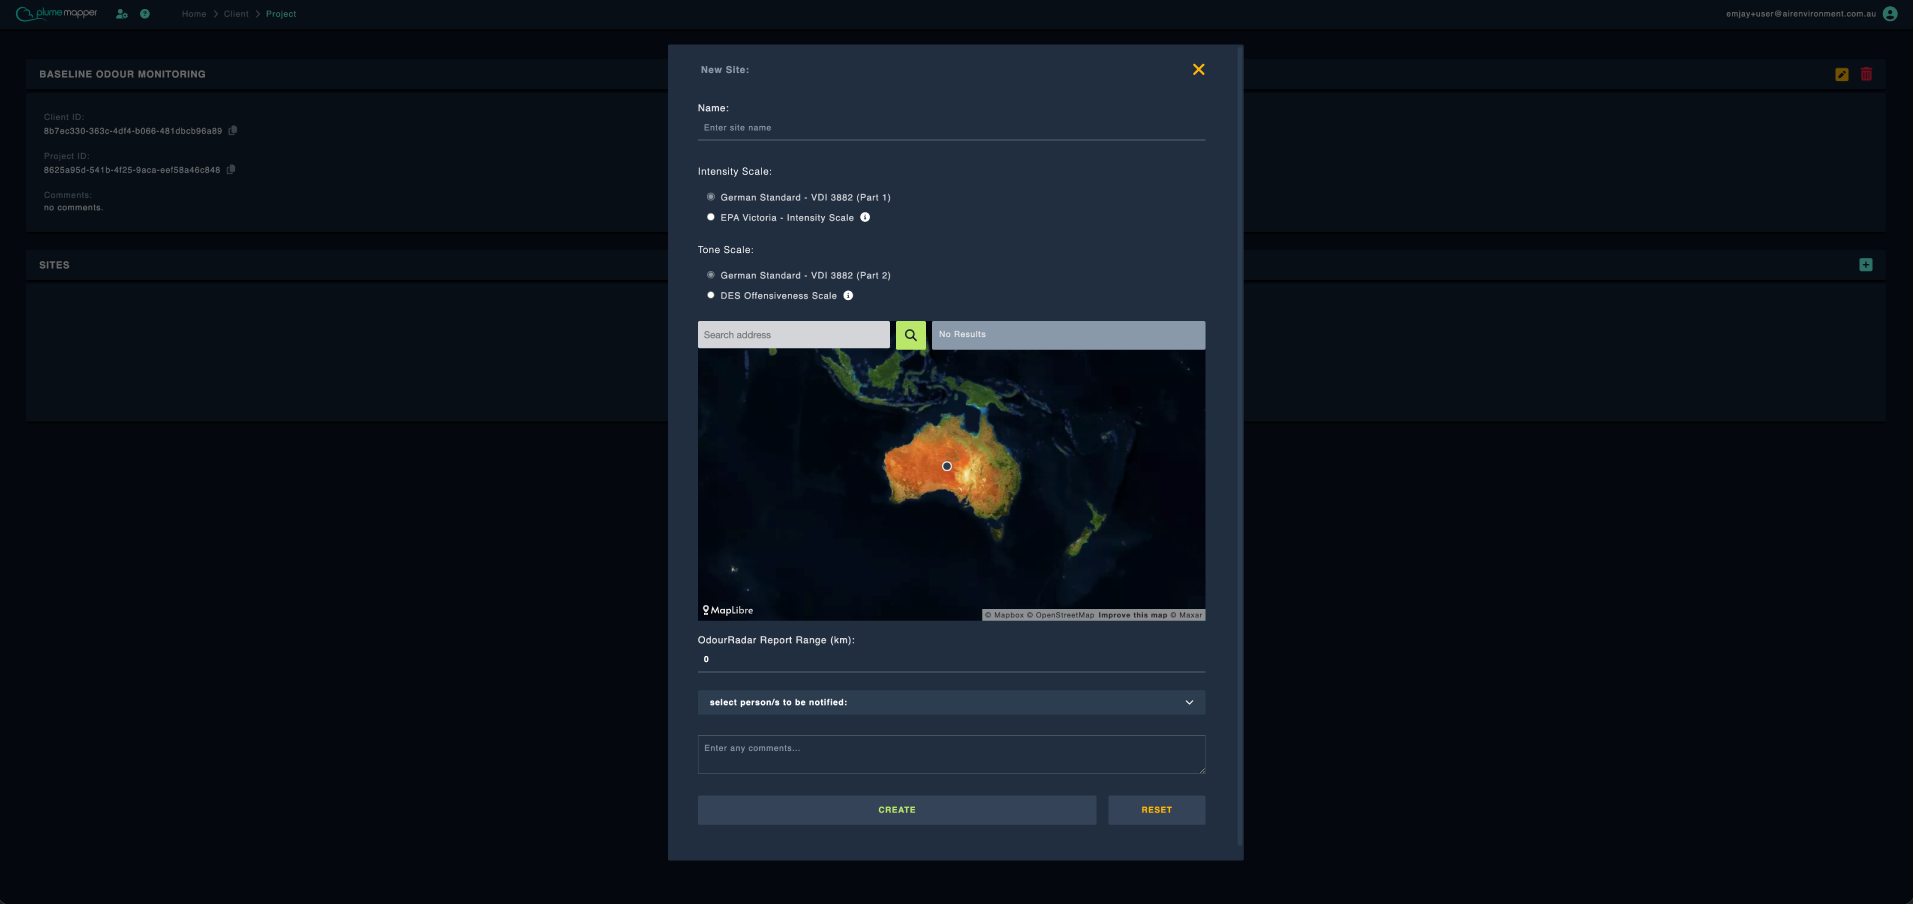
Site Page
You can edit or delete the site by clicking the or buttons respectively.
You can import Zones, POI and Grids via this page - see Import Site Features.
Click the button to add a new survey collection.
Add a New Survey Collection
1. Enter the collection name and any comments.
2. Click Create. Your new collection will appear in the list.
3. Click the collection to go to the map view.
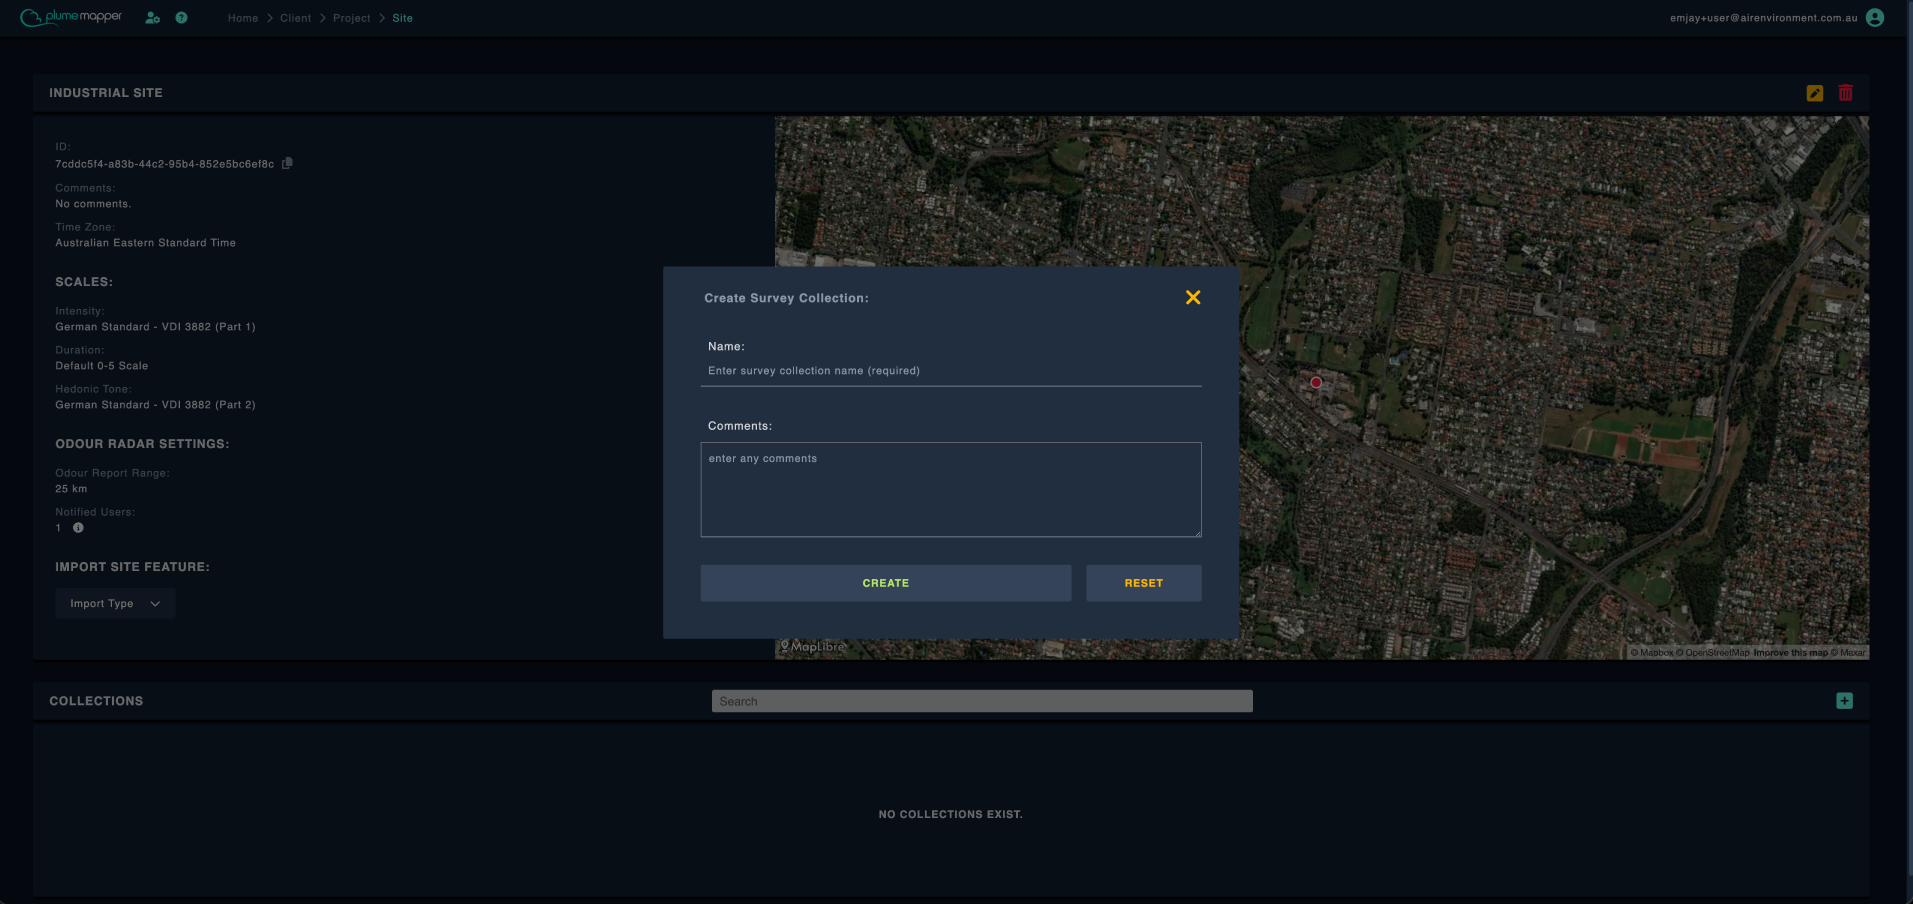
If you have multiple collections, you can:
- Open all of them by checking the box next to open selected collections.
- Open specific collections by checking the box next to the collection name and clicking open selected collections.
- Open a single collection by clicking on the collection name.
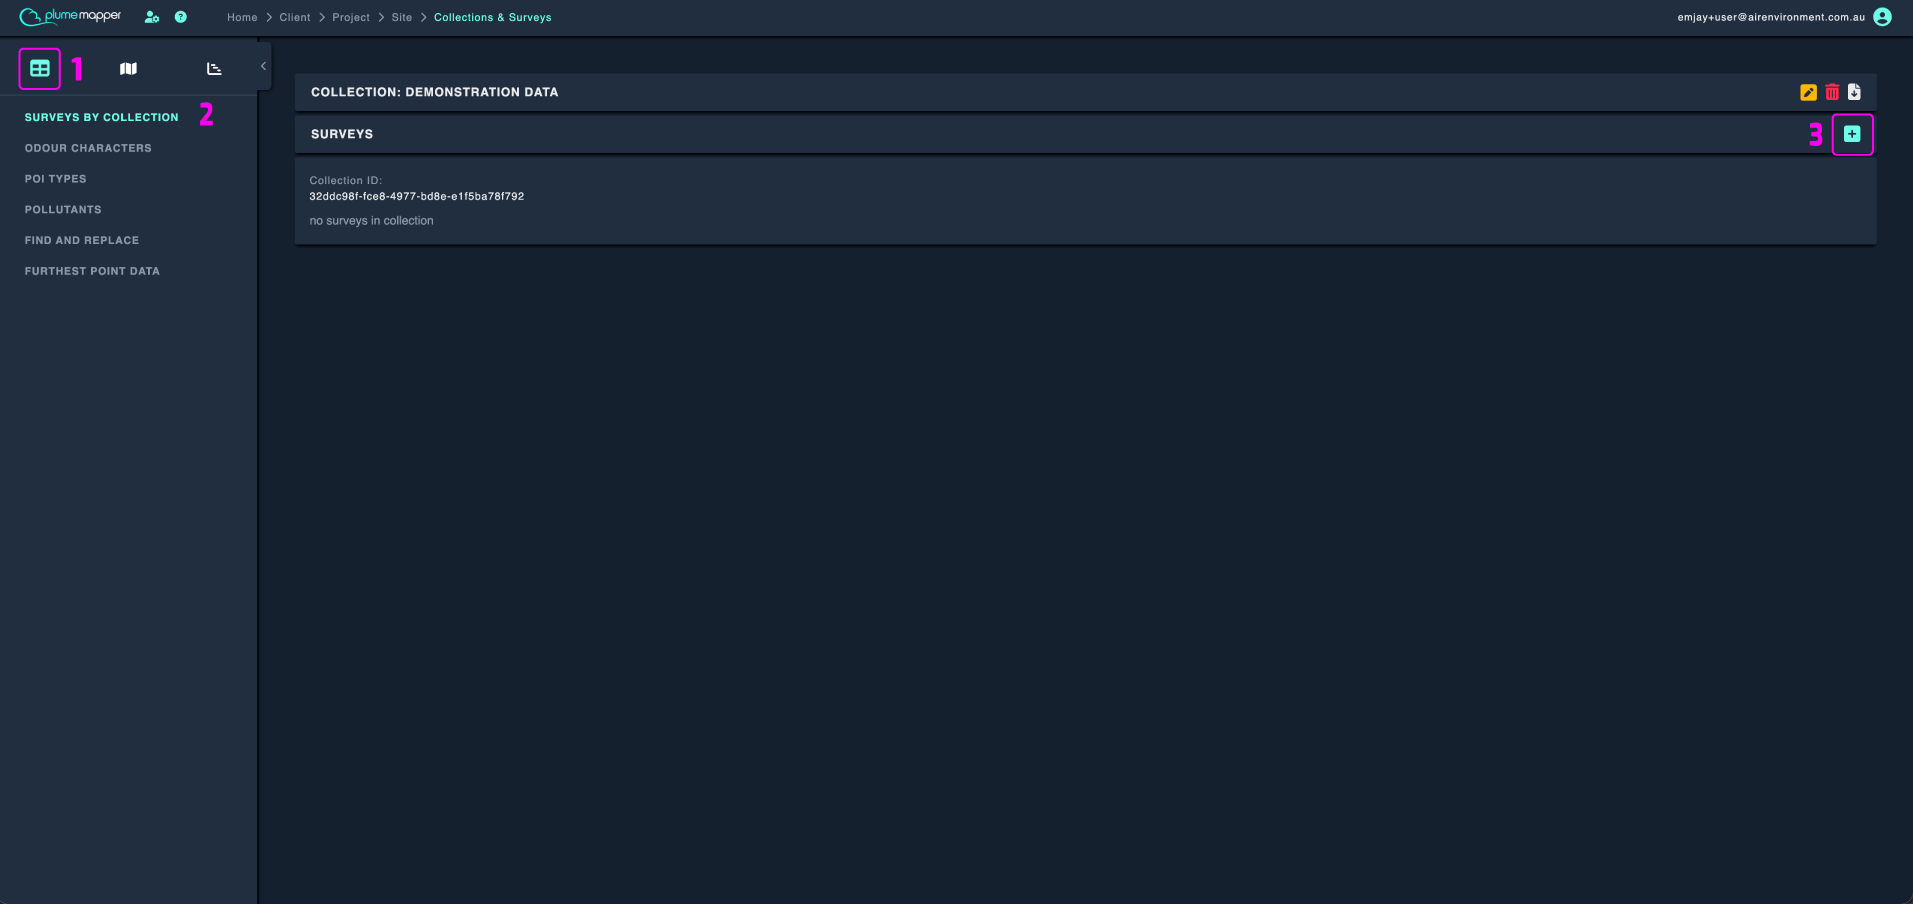
Collection View - Table
To access this page:
1. Click the button (1 in the image below).
2. Click Surveys by Collection (2).
You can edit, delete or export the survey collection by clicking the , or buttons respectively.
Click the button to add a new survey (3).
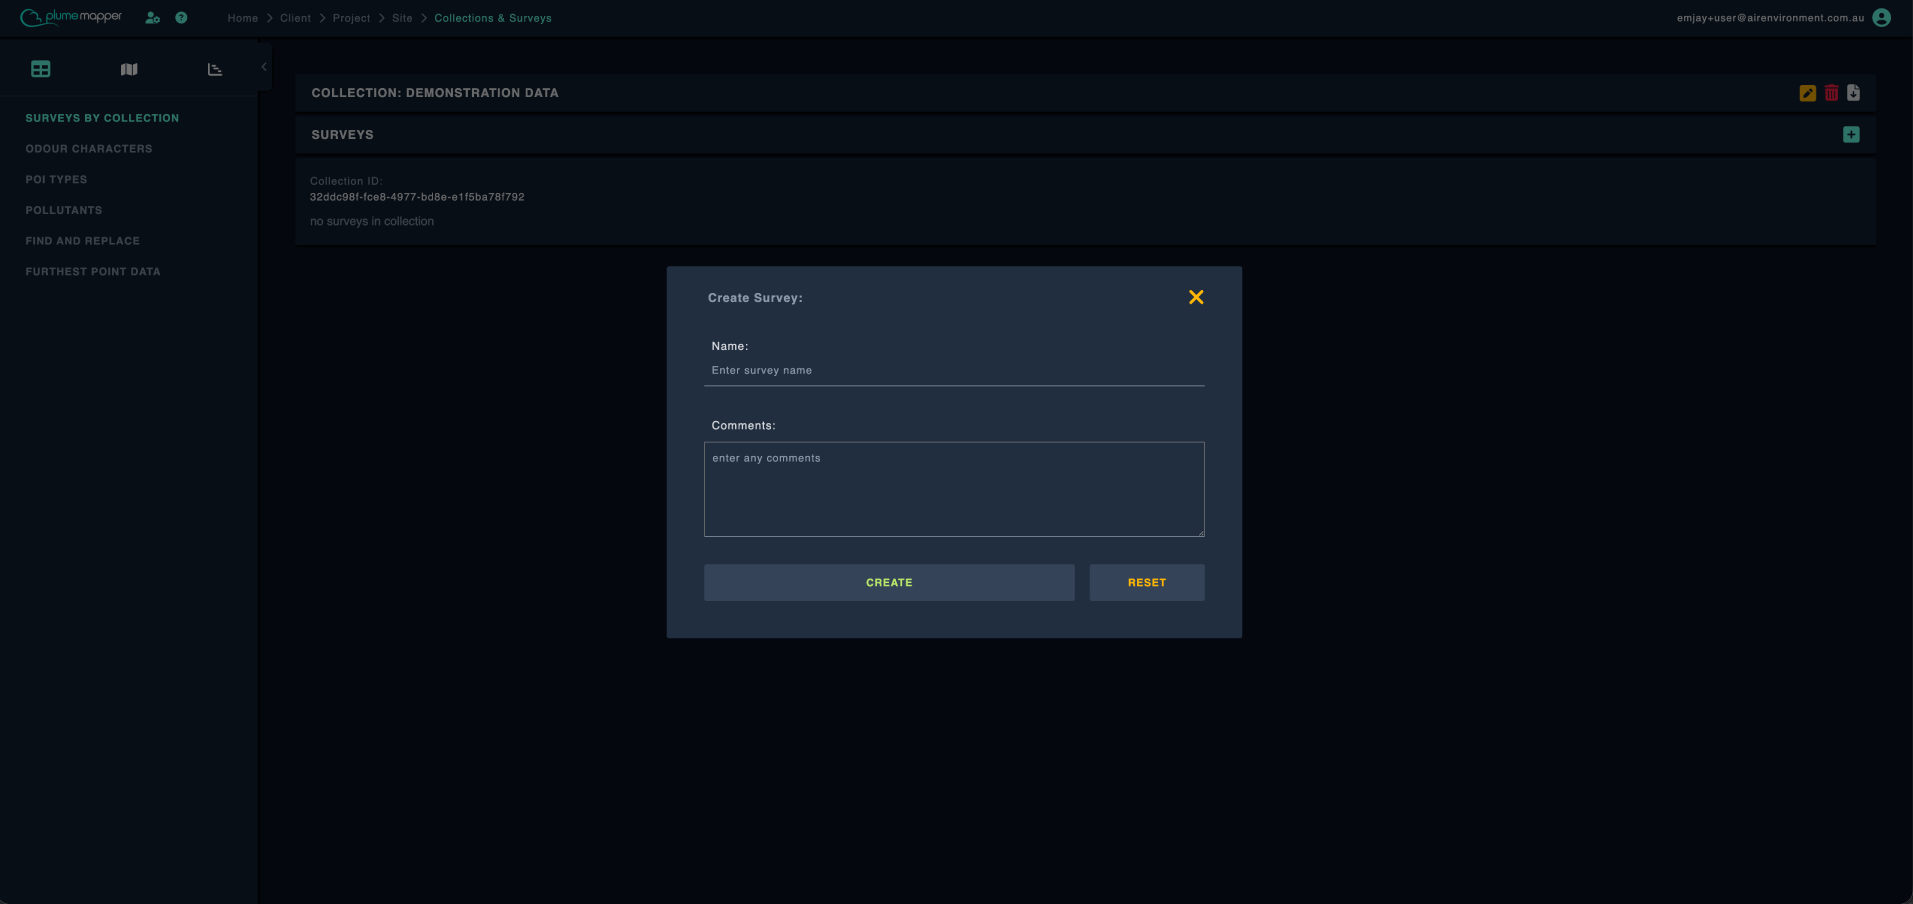
Add a New Survey
Surveys are normally created via the mobile app when heading out to the field.
To create a survey here:
1. Click Create to create a new survey labelled with a timestamp of when you click create, or enter a custom survey name in the input field.