
Survey Setup
Data Structure
Your data is organised in four levels:
- Client | Project - The top level of your data. You set this in Admin Portal.
- Site - The location where your data is being collected.
- Survey Collection - Groups for sorting your surveys, for example pre or post odour control, winter, summer etc.
- Survey - Where your measurement data is stored. Surveys represent your field sessions, for example daily, morning, afternoon or evening observation sets.
Open Existing Surveys
To open an existing client, project, site, survey collection and finally survey, select the respective category from each dropdown menu, then tap Next.
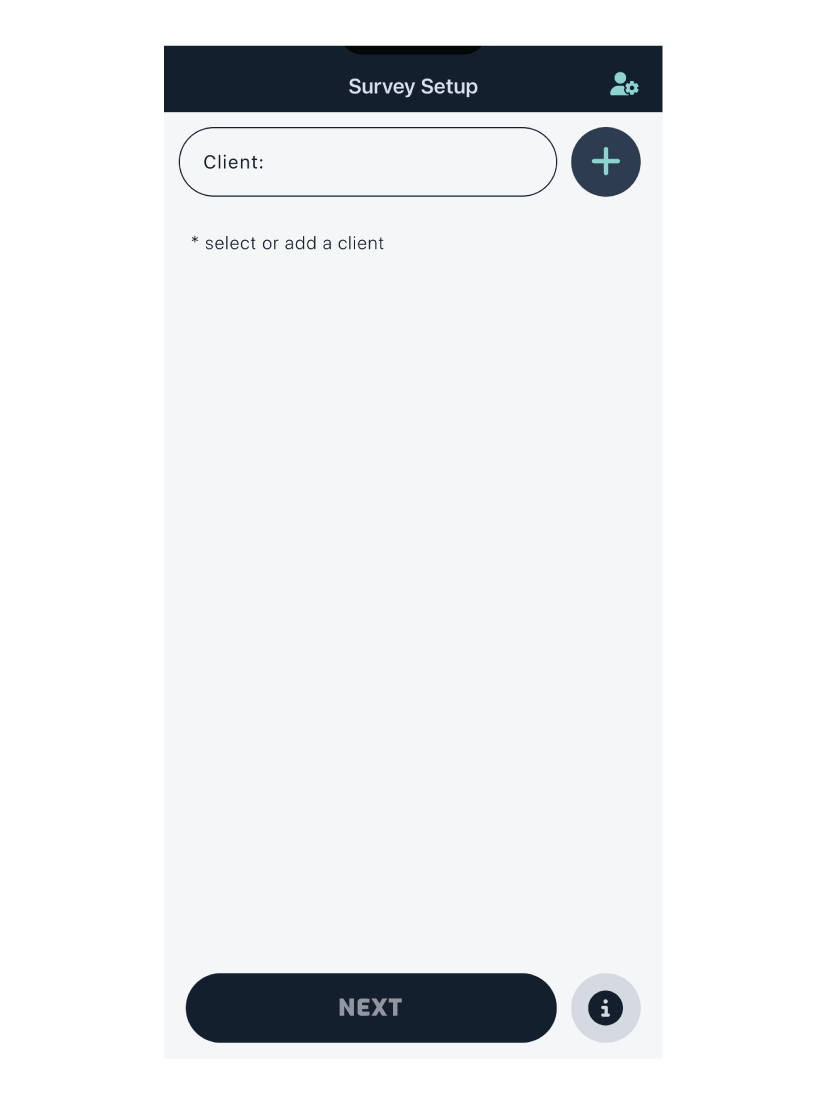
The Next button is disabled until all dropdown options have been selected.
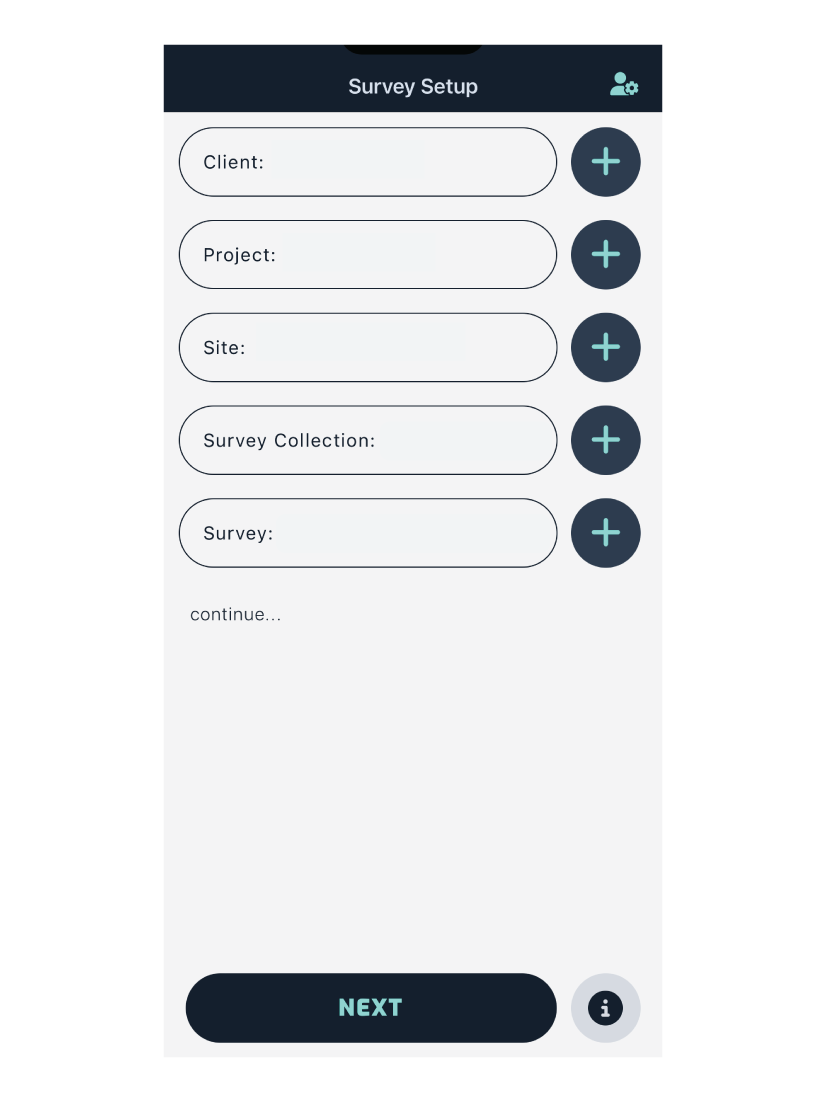
You can create a new client, project, site, survey collection or survey by tapping the button next to each dropdown.
Creating a Client
A client is the top level of your data and can have multiple associated projects.
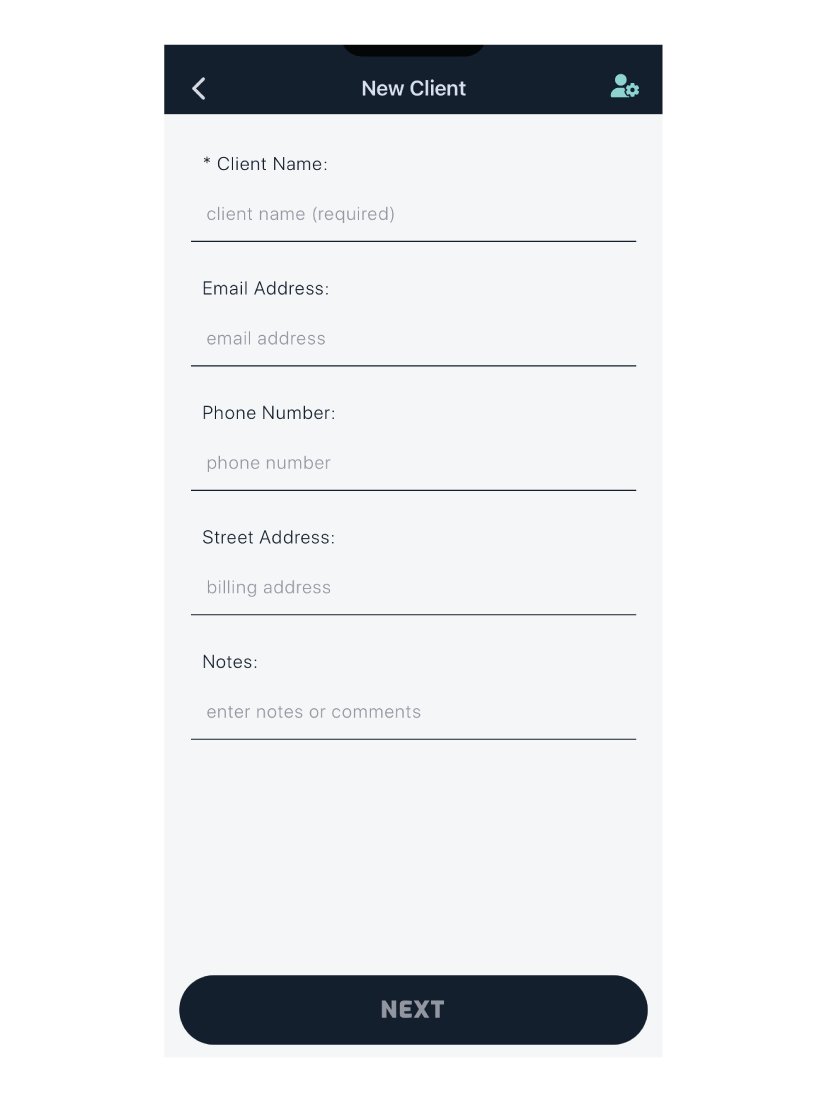
The only required field is the client name. Once this has been entered, the Next button is enabled.
The other fields - email, phone and address - can be filled out later on the web app, or left blank.
Creating a Project
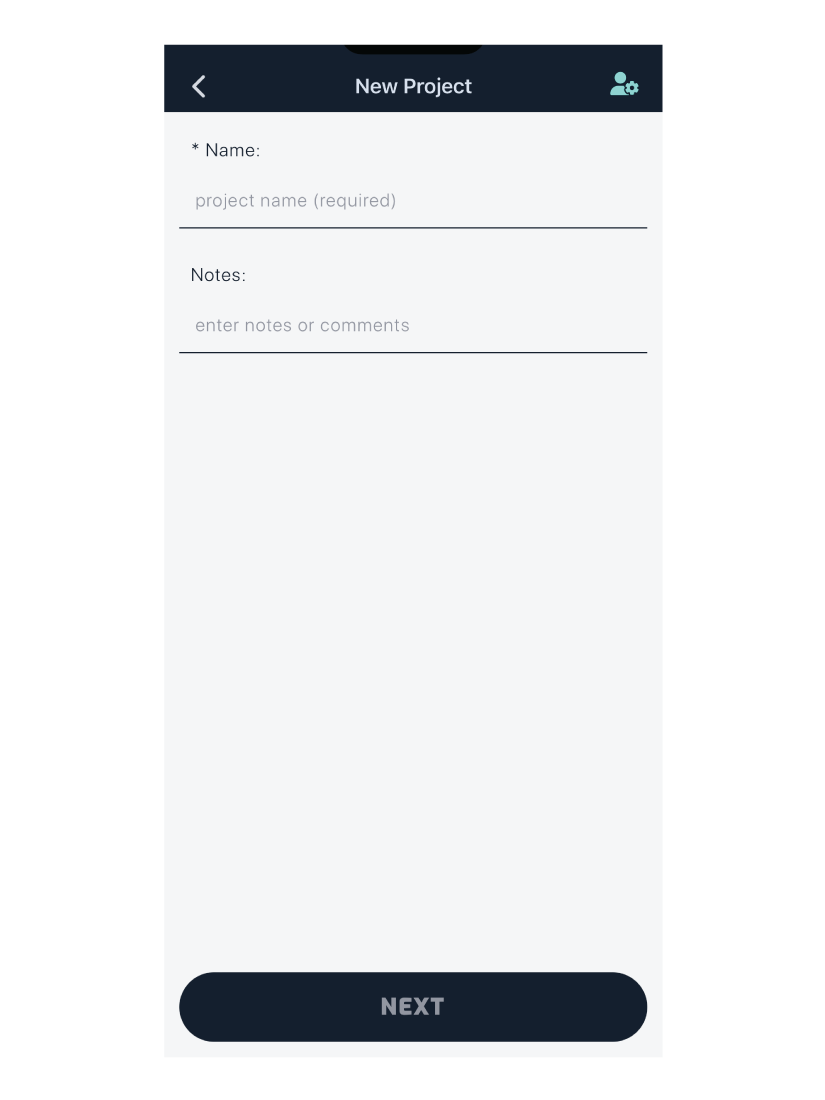
A project belongs to a client and can have multiple associated sites.
Enter the project name, which is required, then tap Next.
Creating a Site
A site belongs to a project and can have multiple associated survey collections.
Data stored per site:
- Odour Sources & Characters
- Zones
- Buffers
- Grids
- POI
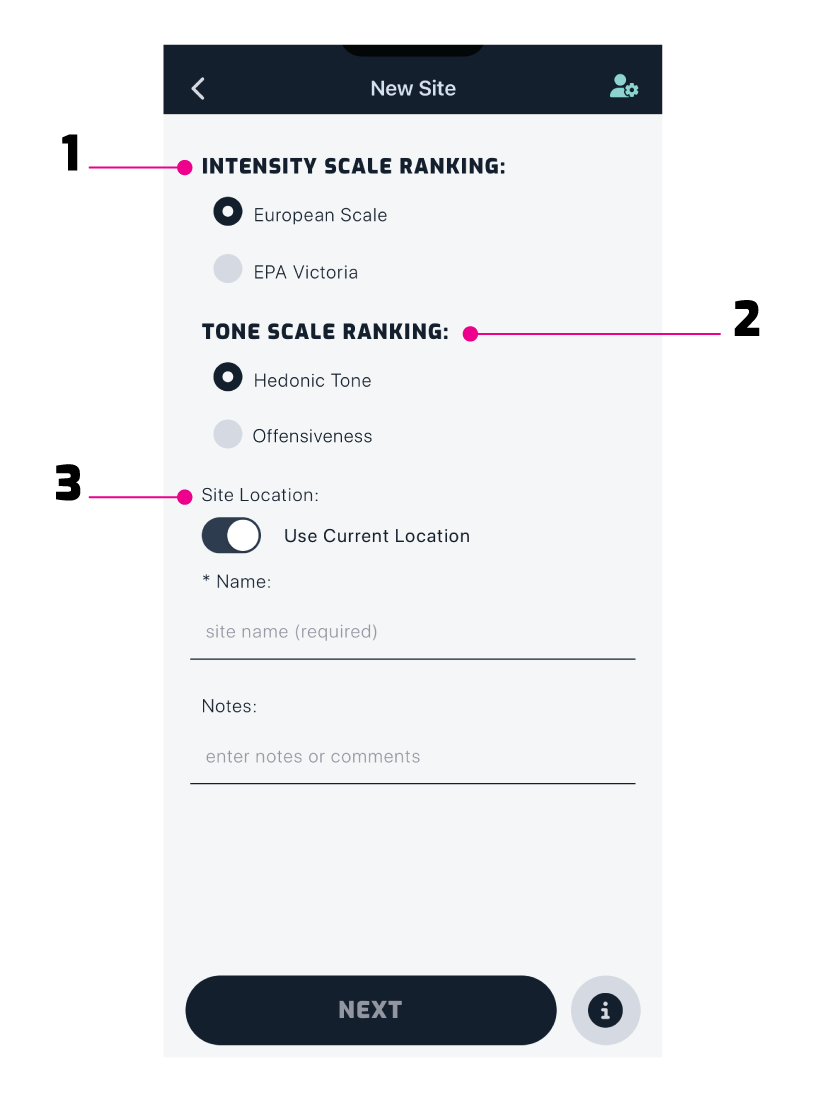
You can enable and create custom scales via Admin Portal. If no custom scales have been set up, the default scales are:
Intensity - VDI 3882 Part 1
- Not Detectable (0)
- Very Weak (1)
- Weak (2)
- Moderate (3)
- Strong (4)
- Very Strong (5)
- Extremely Strong (6)
Hedonic Tone - VDI 3882 Part 2
- Extremely Unpleasant (-4)
- Very Unpleasant (-3)
- Moderately Unpleasant (-2)
- Slightly Unpleasant (-1)
- Neutral (0)
- Slightly Pleasant (1)
- Moderately Pleasant (2)
- Very Pleasant (3)
- Extremely Pleasant (4)
Duration (for instantaneous measurements) - Default
- Not Present (0)
- Fleeting/Transient (1)
- Intermittent/Occasional (2)
- Mostly Present (3)
- Continuously Present (4)
- Other (5)
Site Location
If you are setting up a site while out in the field, by default it takes your current GPS coordinates as the site location.
However, if you are setting up the site before conducting a survey, you can toggle from using your GPS location to entering a street address instead.
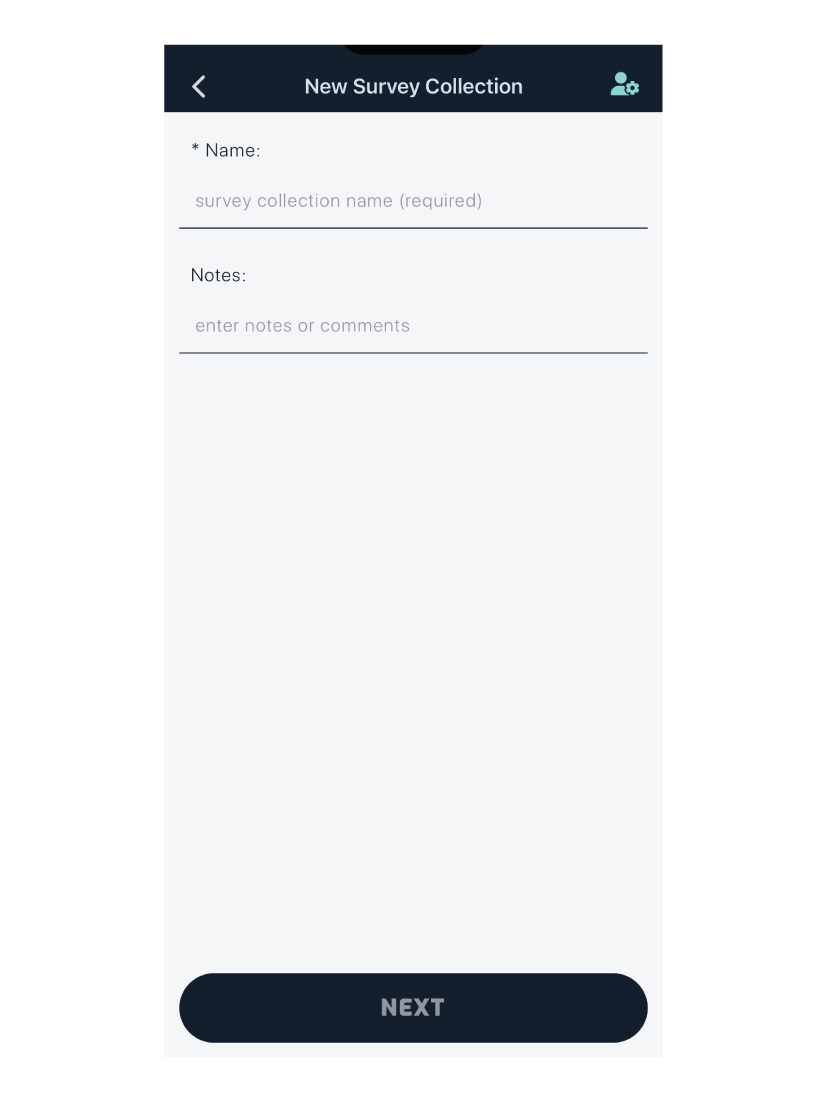
Creating a Survey Collection
A survey collection belongs to a site and can have multiple associated surveys.
Creating a Survey
A survey belongs to a survey collection and is where measurement data is stored.
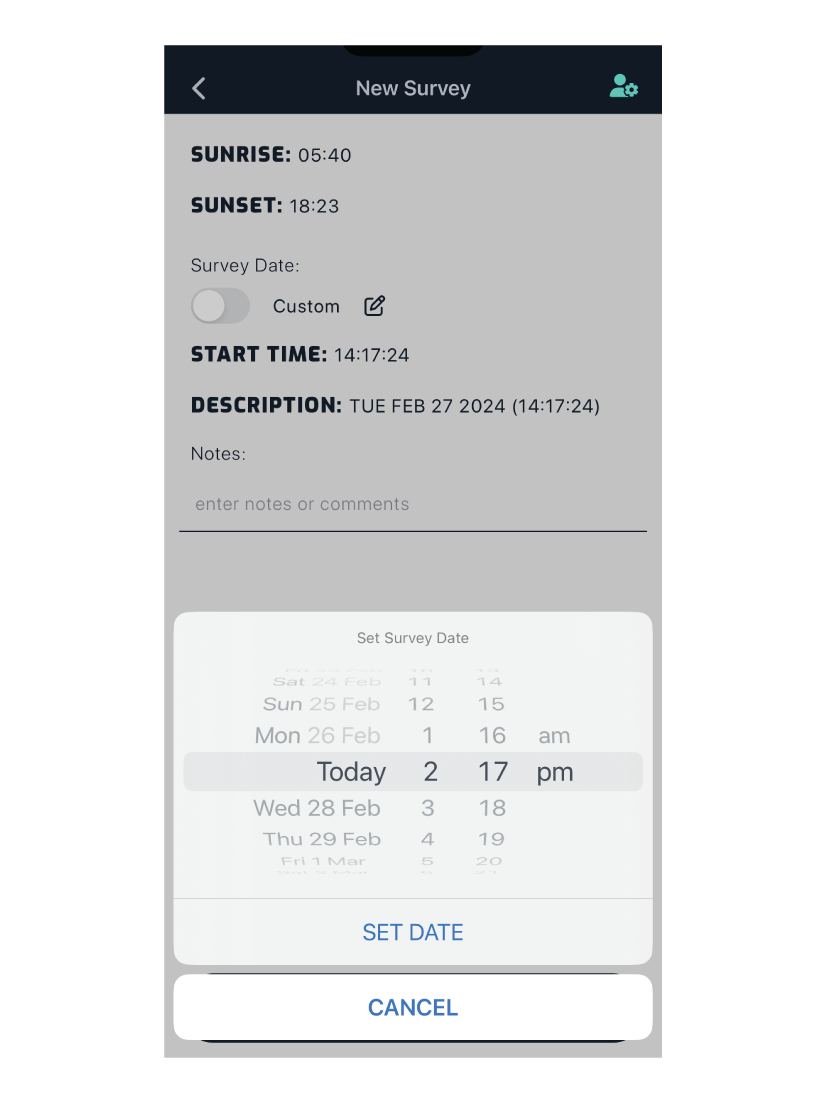
By default, surveys are named by the date and time they were created, as shown below.
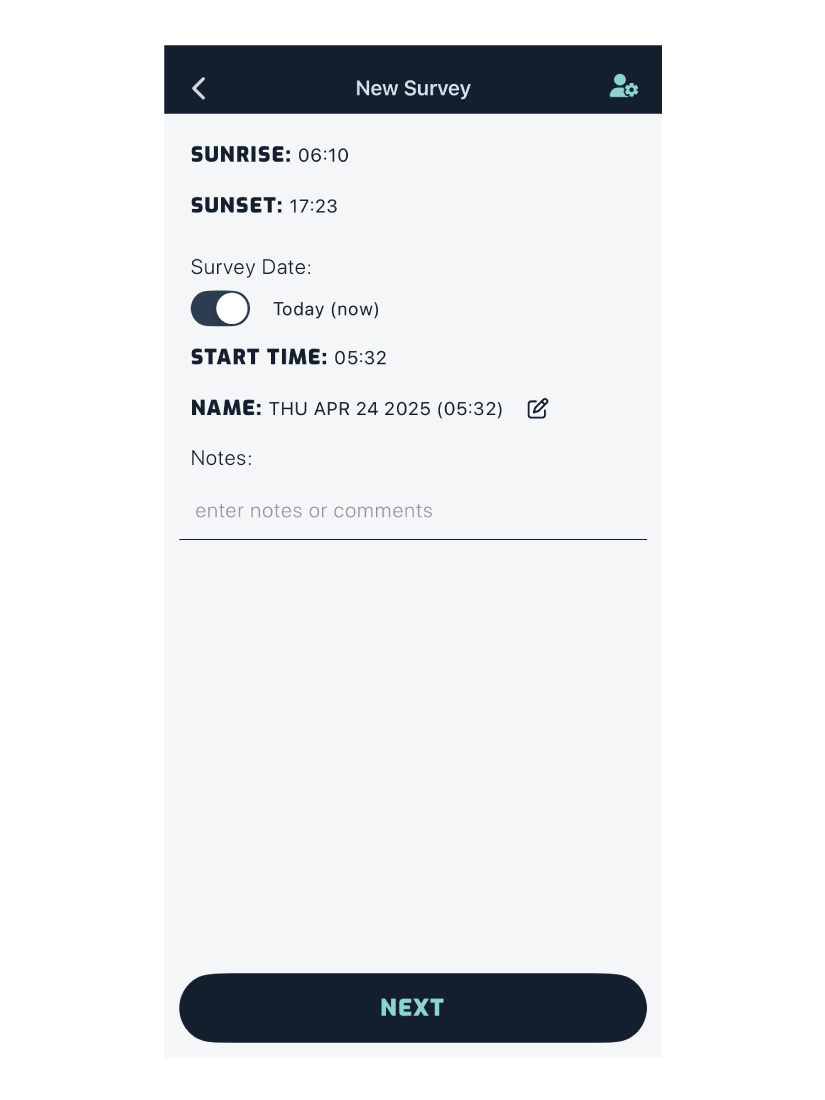
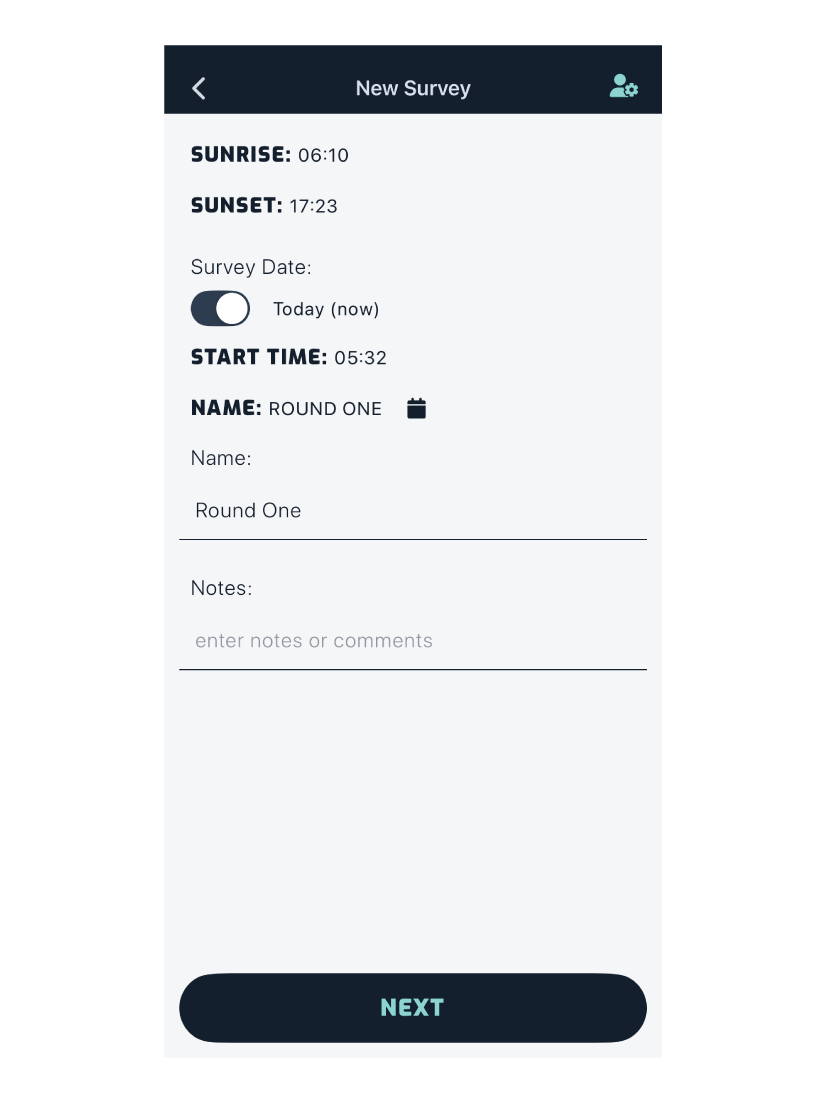
You can edit the survey name by tapping the icon.
- Enter your survey name in the input field.
- Tap the icon to switch back to the default timestamp.
If you are planning a survey the day (or days) prior to heading out into the field, you can set the date accordingly.
Tapping Next will take you to the equipment tracking screen.