Transect Grids
Grids are set locations that assessors frequently conduct odour surveys, often due to high levels of complaints in an area.
Adding a Grid
1. Click the icon under Grids on the map toolbar, to access the Grid Wizard.
2. Enter a unique name for the grid in the input field.
3. Choose whether you want to add grid points by clicking on the map or manually entering a latitude and longitude.
4. Use the Undo Last Point button to remove the most recently added point if needed.
5. Choose a colour for the grid. This can help identify grid points if there are multiple grids on a site.
6. Click the Save button to add the new grid.
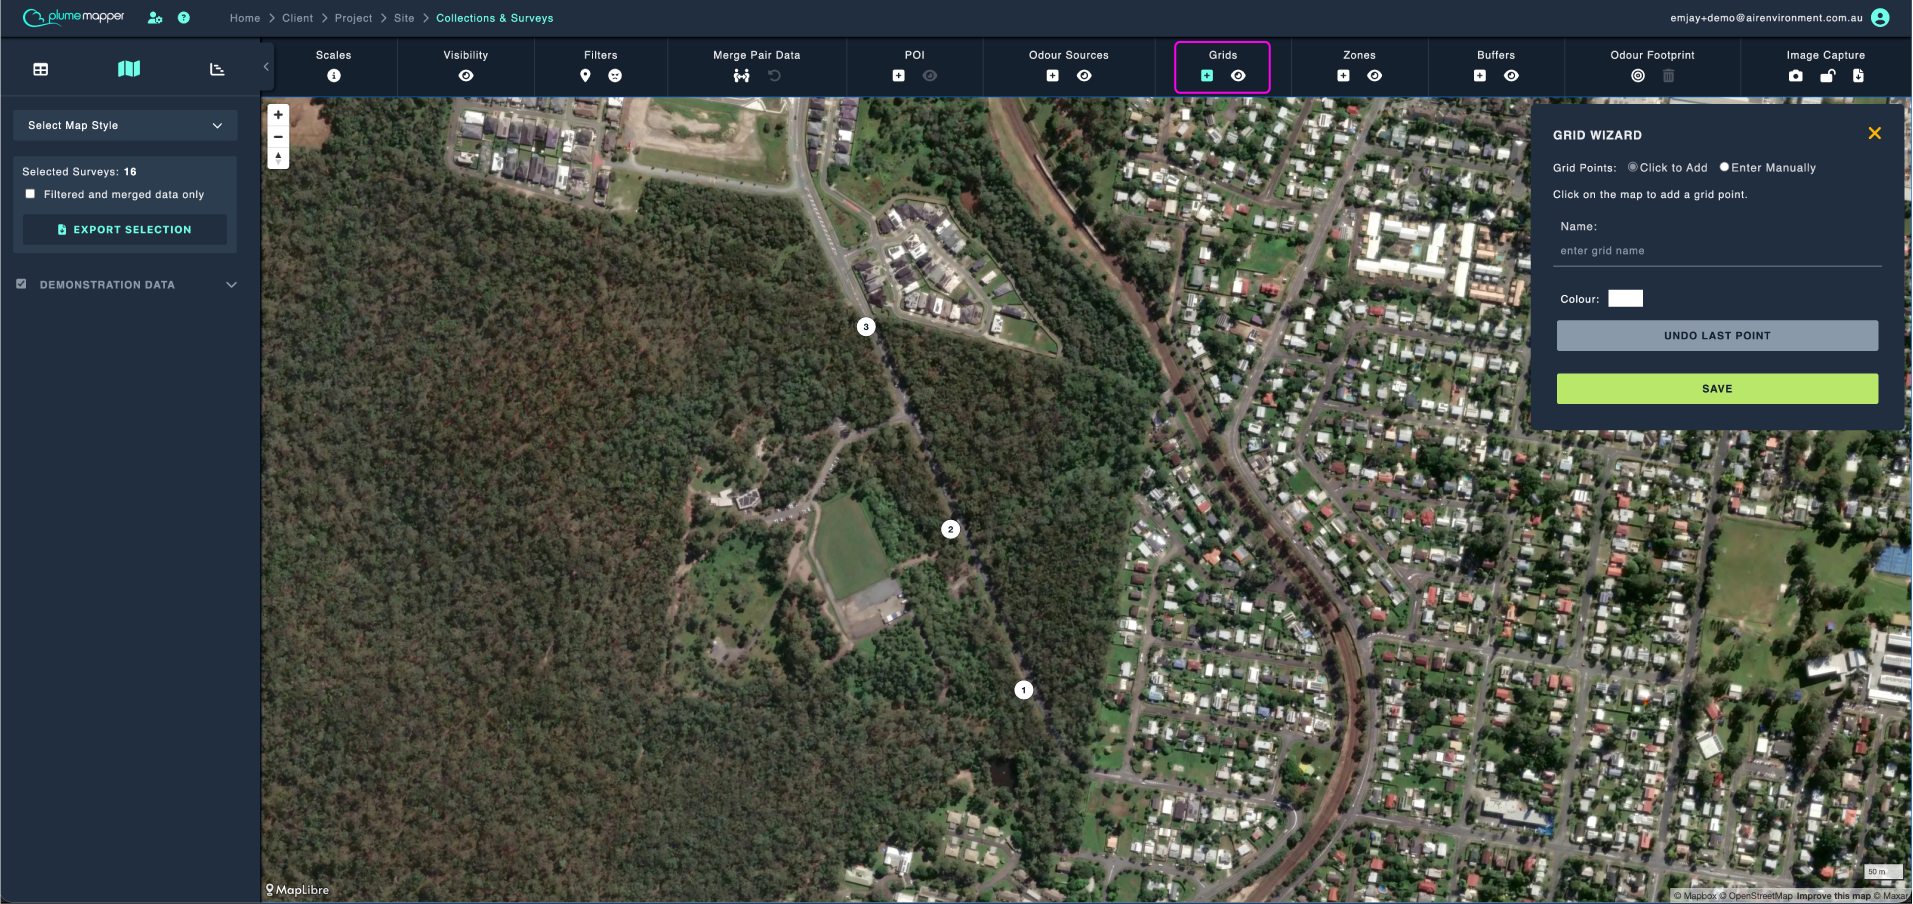
Click to Add
- Click the map where the grid point is located; a marker populates at the location. IDs increment by 1.
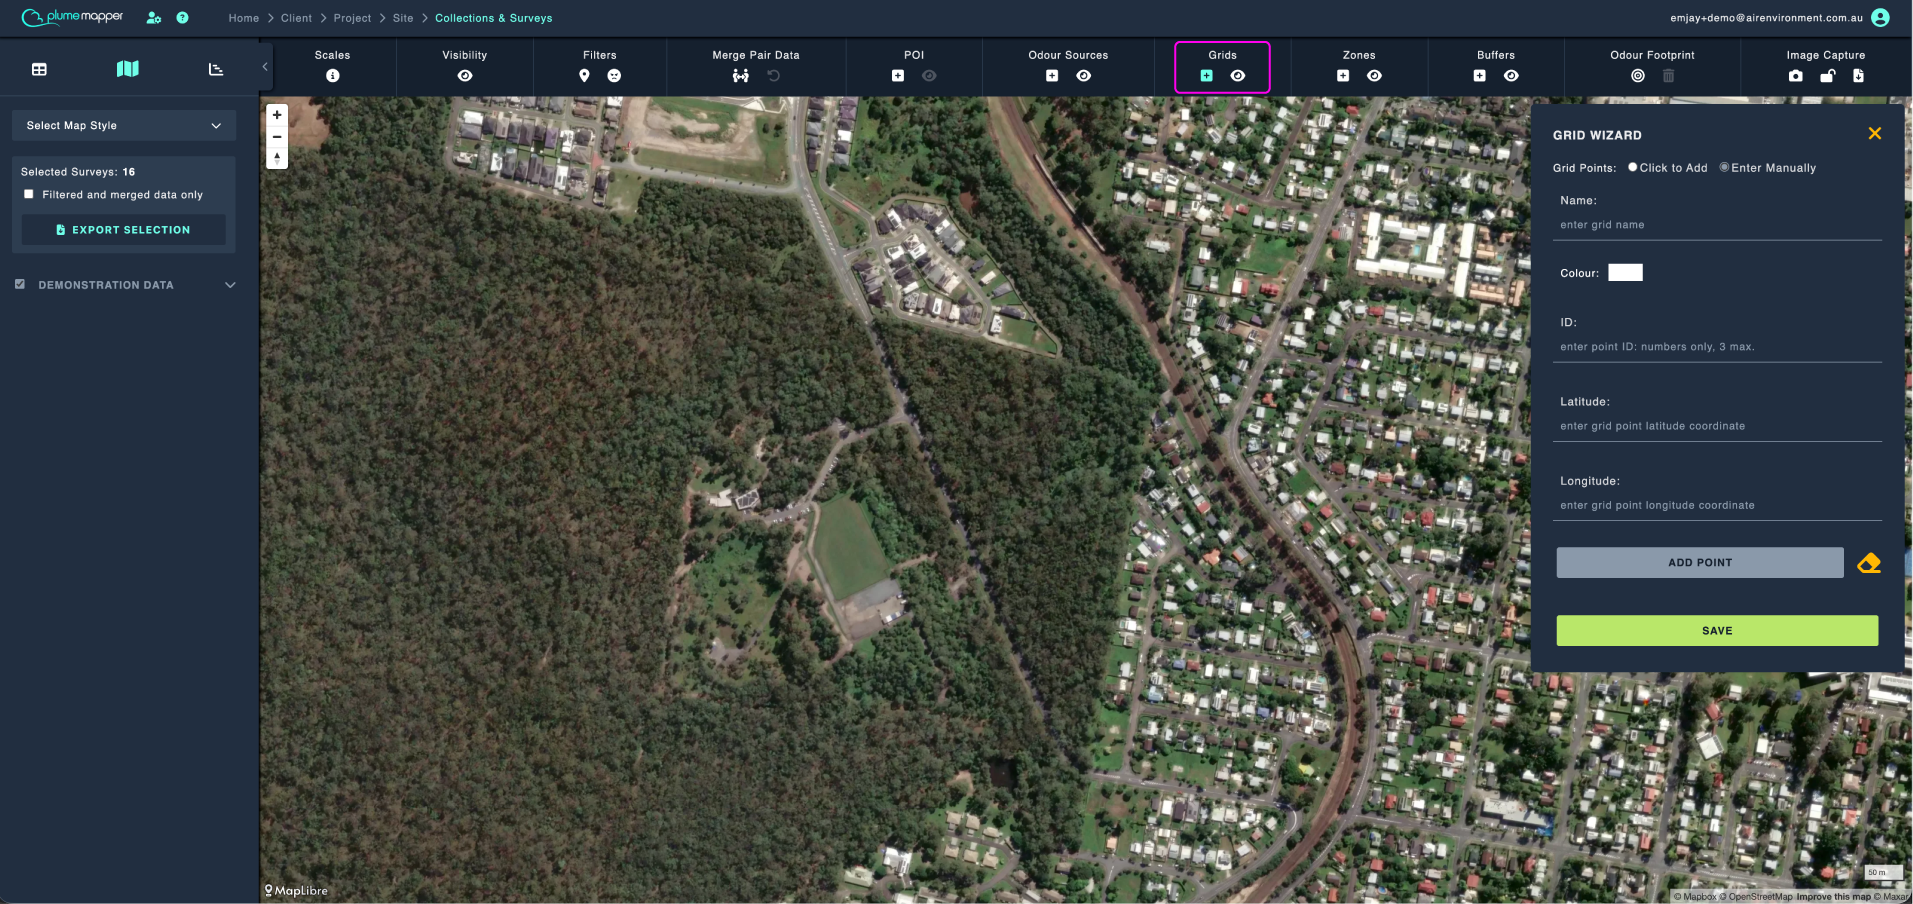
Enter Manually
- Enter an ID (maximum of 3 numbers), latitude and longitude, then click Add Point.
Showing and Hiding Grids
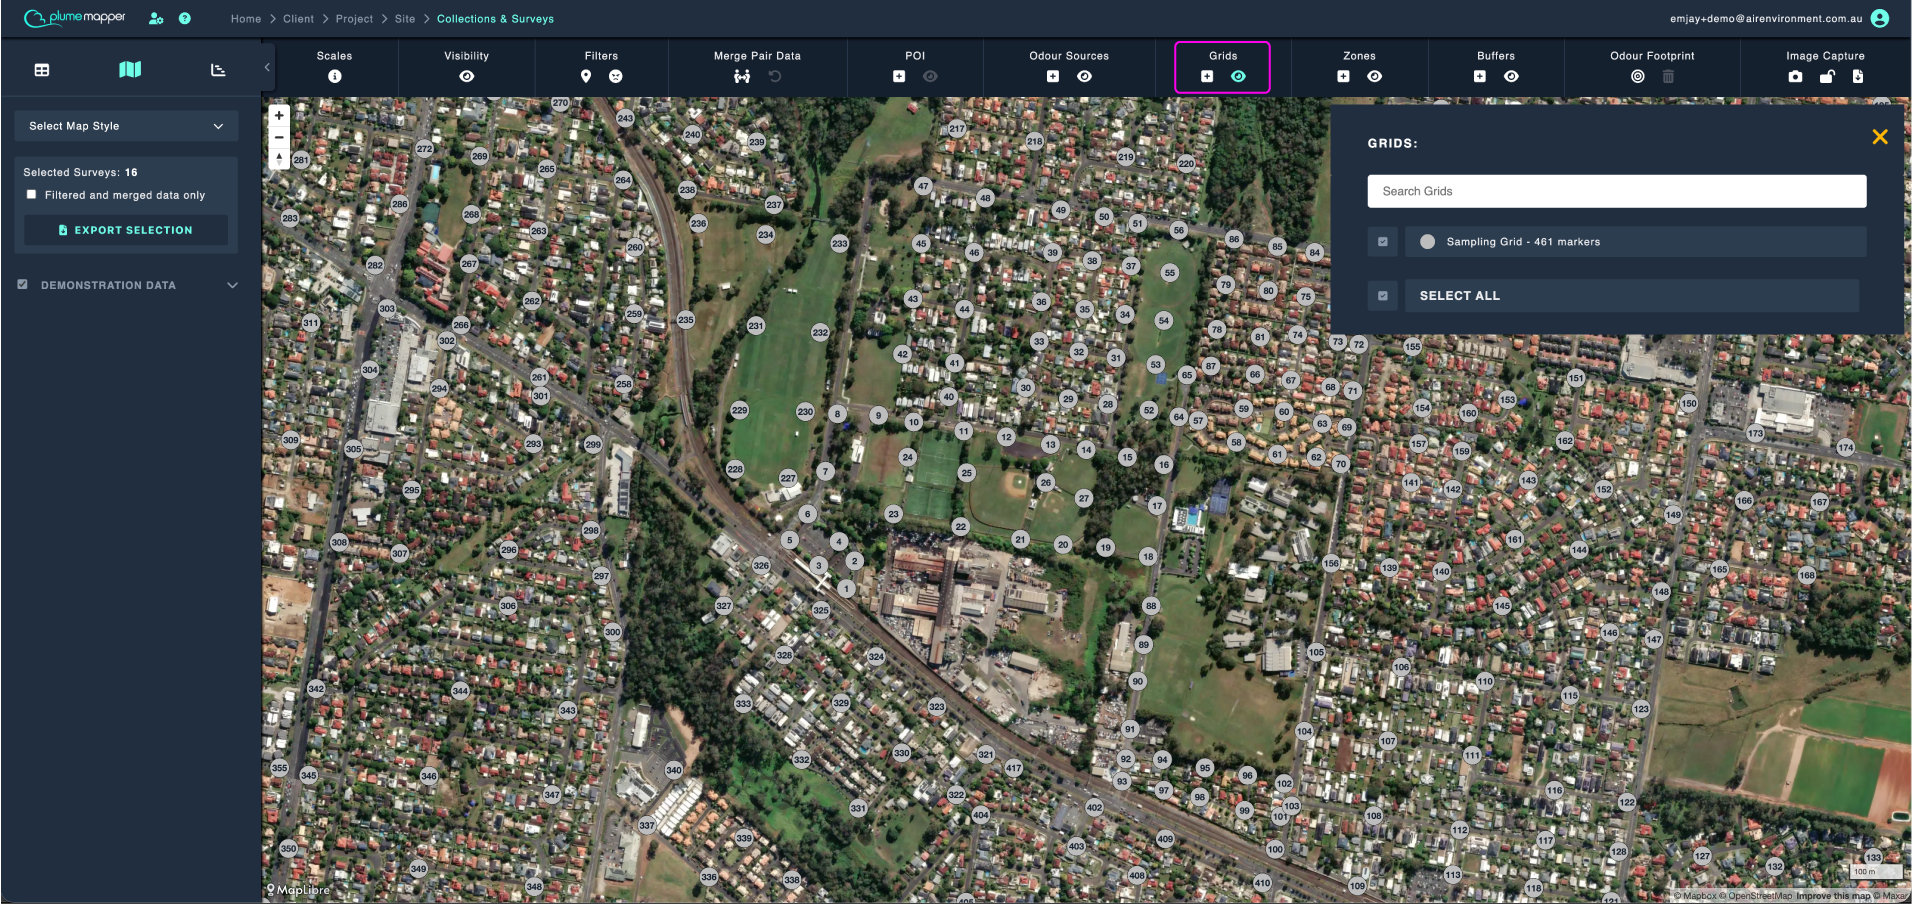
Click the icon under Grids on the map toolbar, to open the grid list.
- Search for a grid by name, in the input field.
- Check or uncheck the items on the list you wish to be visible on the map.
- Use Select All at the bottom of the list to show or hide all of them at once.
Note: The icon is disabled (greyed out) when the site has no grids.
Editing Grids
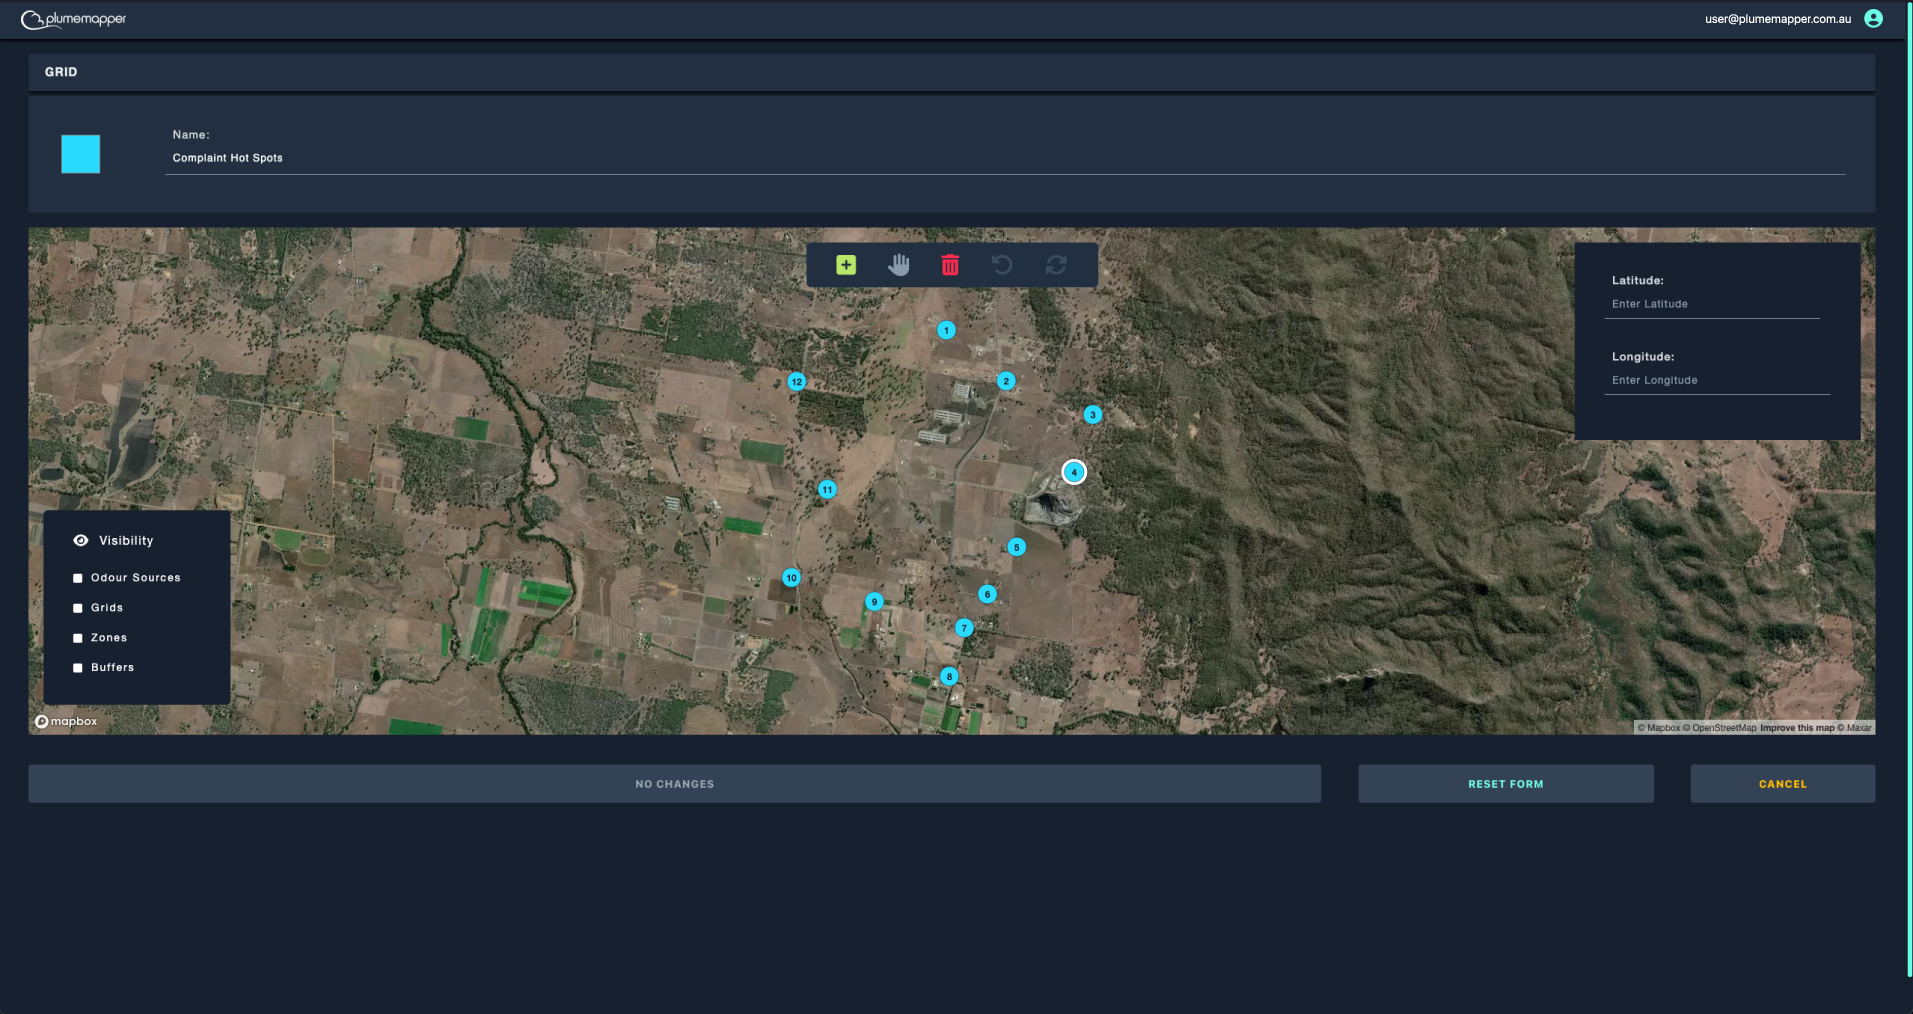
1. Click any grid point of the grid you want to edit.
2. Click the icon in the banner that appears at the top.
3. Modify the name or colour of the grid as needed.
4. To update a grid point location:
- Select the point by clicking it (it displays a white border on the selected point).
- Drag the marker to the new location.
- Or enter a latitude and longitude in the input fields; an Update Coordinates button appears once these have been entered.
- Deselect the point by clicking the icon.
5. To add a new grid point:
- Click the icon, to go into add mode.
- Click the map to populate new points.
- Or enter a latitude and longitude in the input fields; an Add Point button appears once these have been entered.
- Add as many new points as needed, then click the icon to exit add mode.
6. To delete a grid point:
- Click the point, then click the icon.
Note: This reorders the remaining grid point numbers.
7. To undo any of the actions, click the icon.
8. To reset the grid locations back to their original state, click the icon.
9. Click Save Changes to confirm and save your changes.
10. To reset the grid completely, click the Reset Form button.
11. Click Cancel to navigate back to the previous page, without saving any changes.
Note: If the buttons are disabled (greyed out), it means there are no changes.
Deleting Grids
1. Click any grid point of the grid you want to delete.
2. Click the icon in the banner that appears at the top.
3. Confirm deletion, by clicking Delete in the modal that pops up.
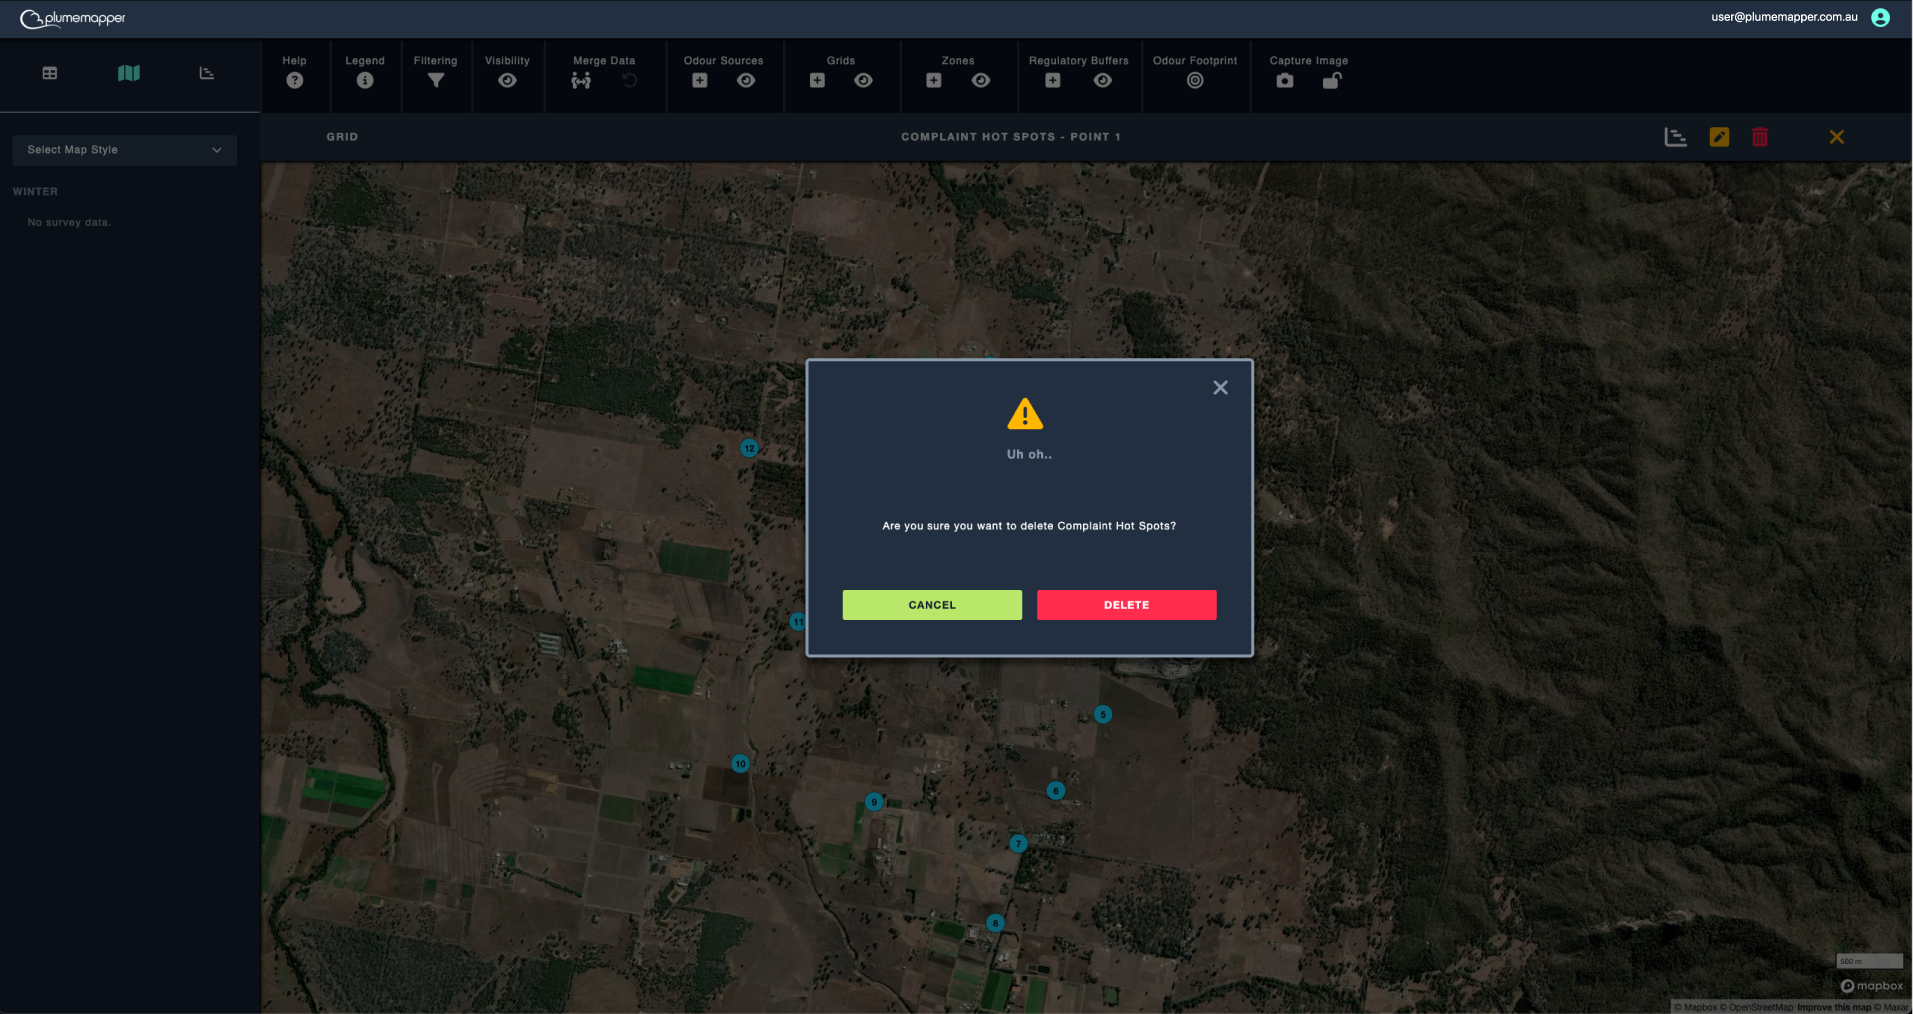
Important: Deleting a grid is permanent and cannot be undone.
Grid Point Statistics
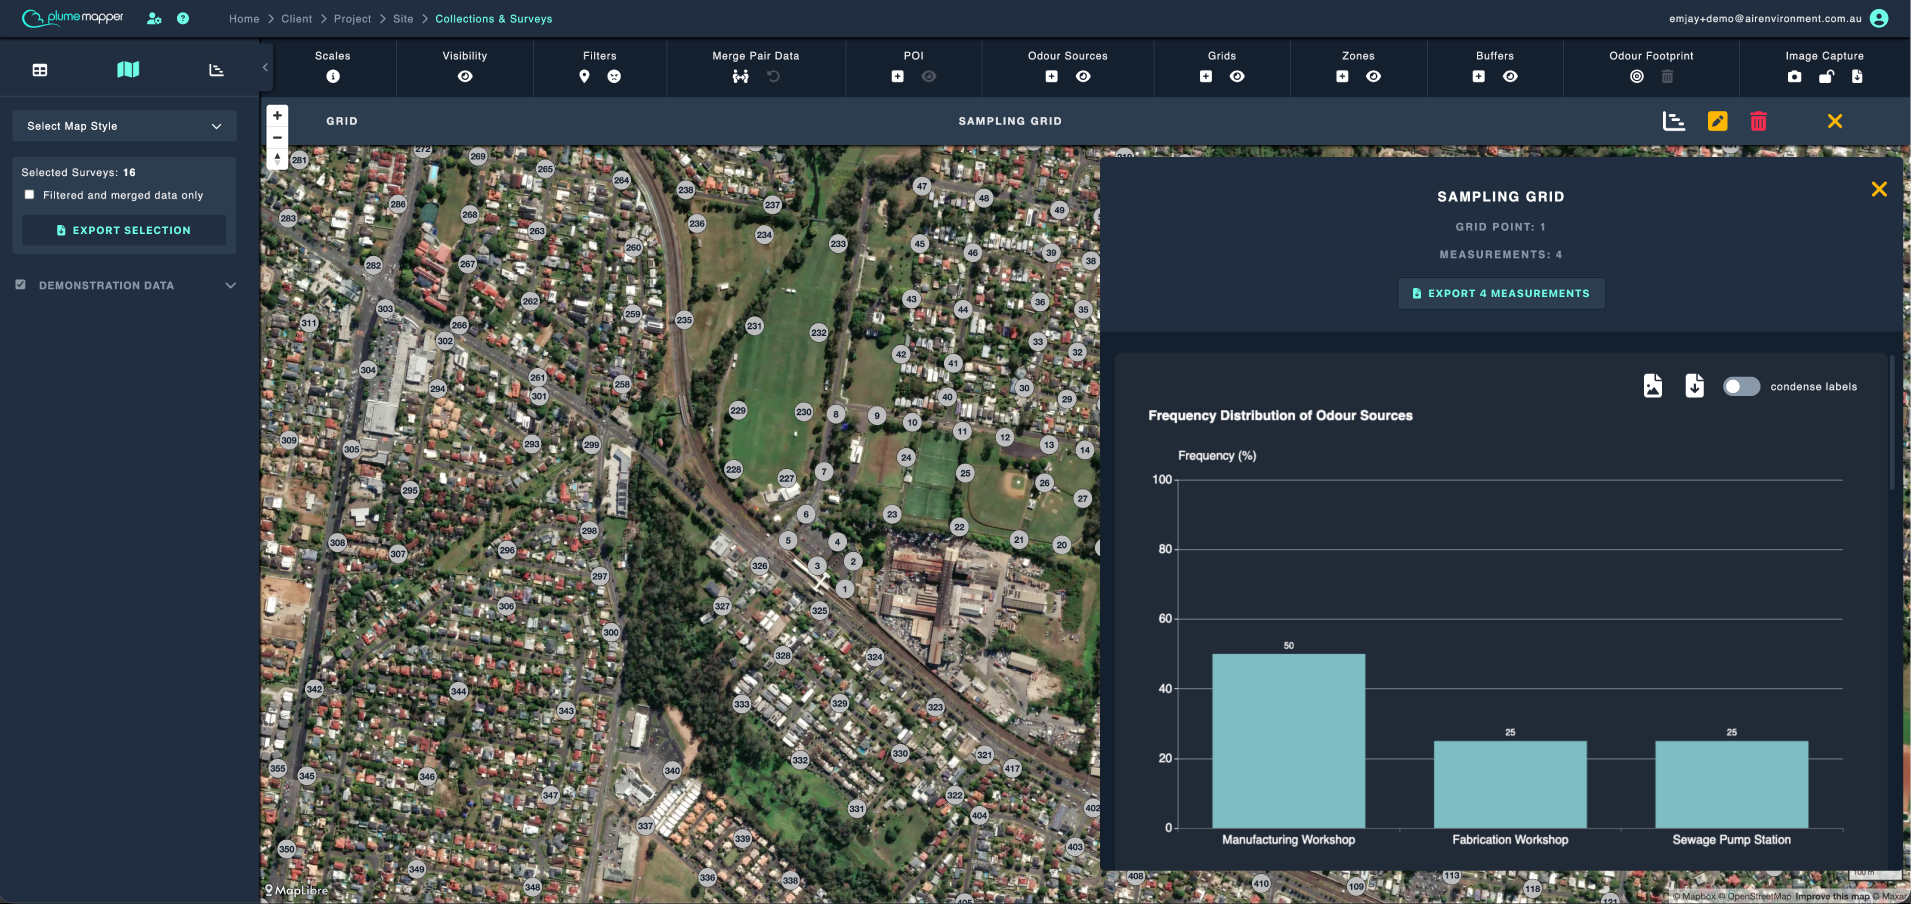
When you assign grid points to your measurement data, you can view statistics on the measurements associated to that grid point.
- Click the icon in the panel that appears once a grid point is selected.
Note: This project has no measurement data, as it was created for demonstration purposes.