Zones
Zones are components used for odour management and analysis.

Zone Types:
- Source zones:
- Assigned to measurement data via Odour Sources.
- Used for calculating odour footprints.
- Receptor zones:
- Sensitive receptor areas, such as residential areas.
- Used to generate statistics from measurements within the zone.
- Boundary zones:
- Displays site bounds or landmarks on the map.
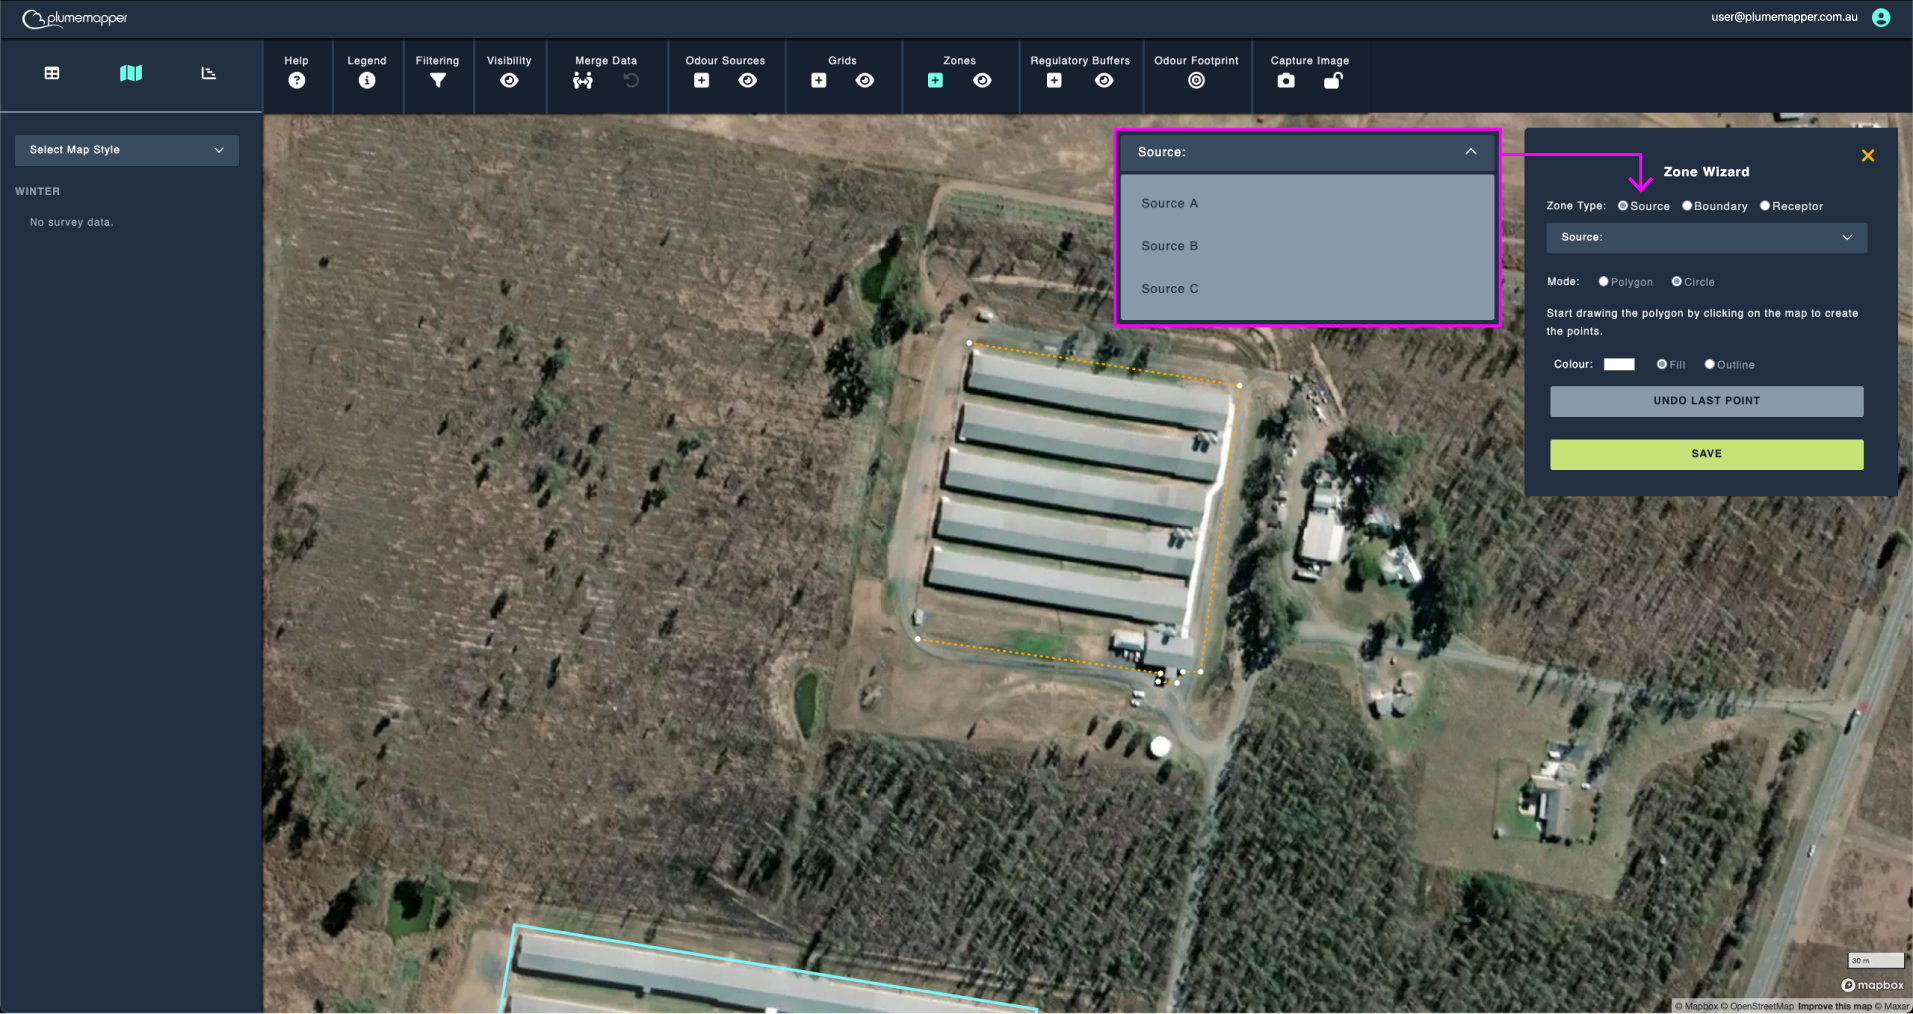
Adding a zone:
1. Click the icon on the map toolbar, to access the Zone Wizard.
2. Enter the zone name in the input field:
- For Receptor and Boundary zones: Type a unique name.
- For Source zones: Select an odour source from the dropdown menu.
3. Draw the zone on the map:
- Click around the area to create the zone.
- A dotted line will appear as you draw.
4. Use the Undo Last Point button to remove the last added point if needed.
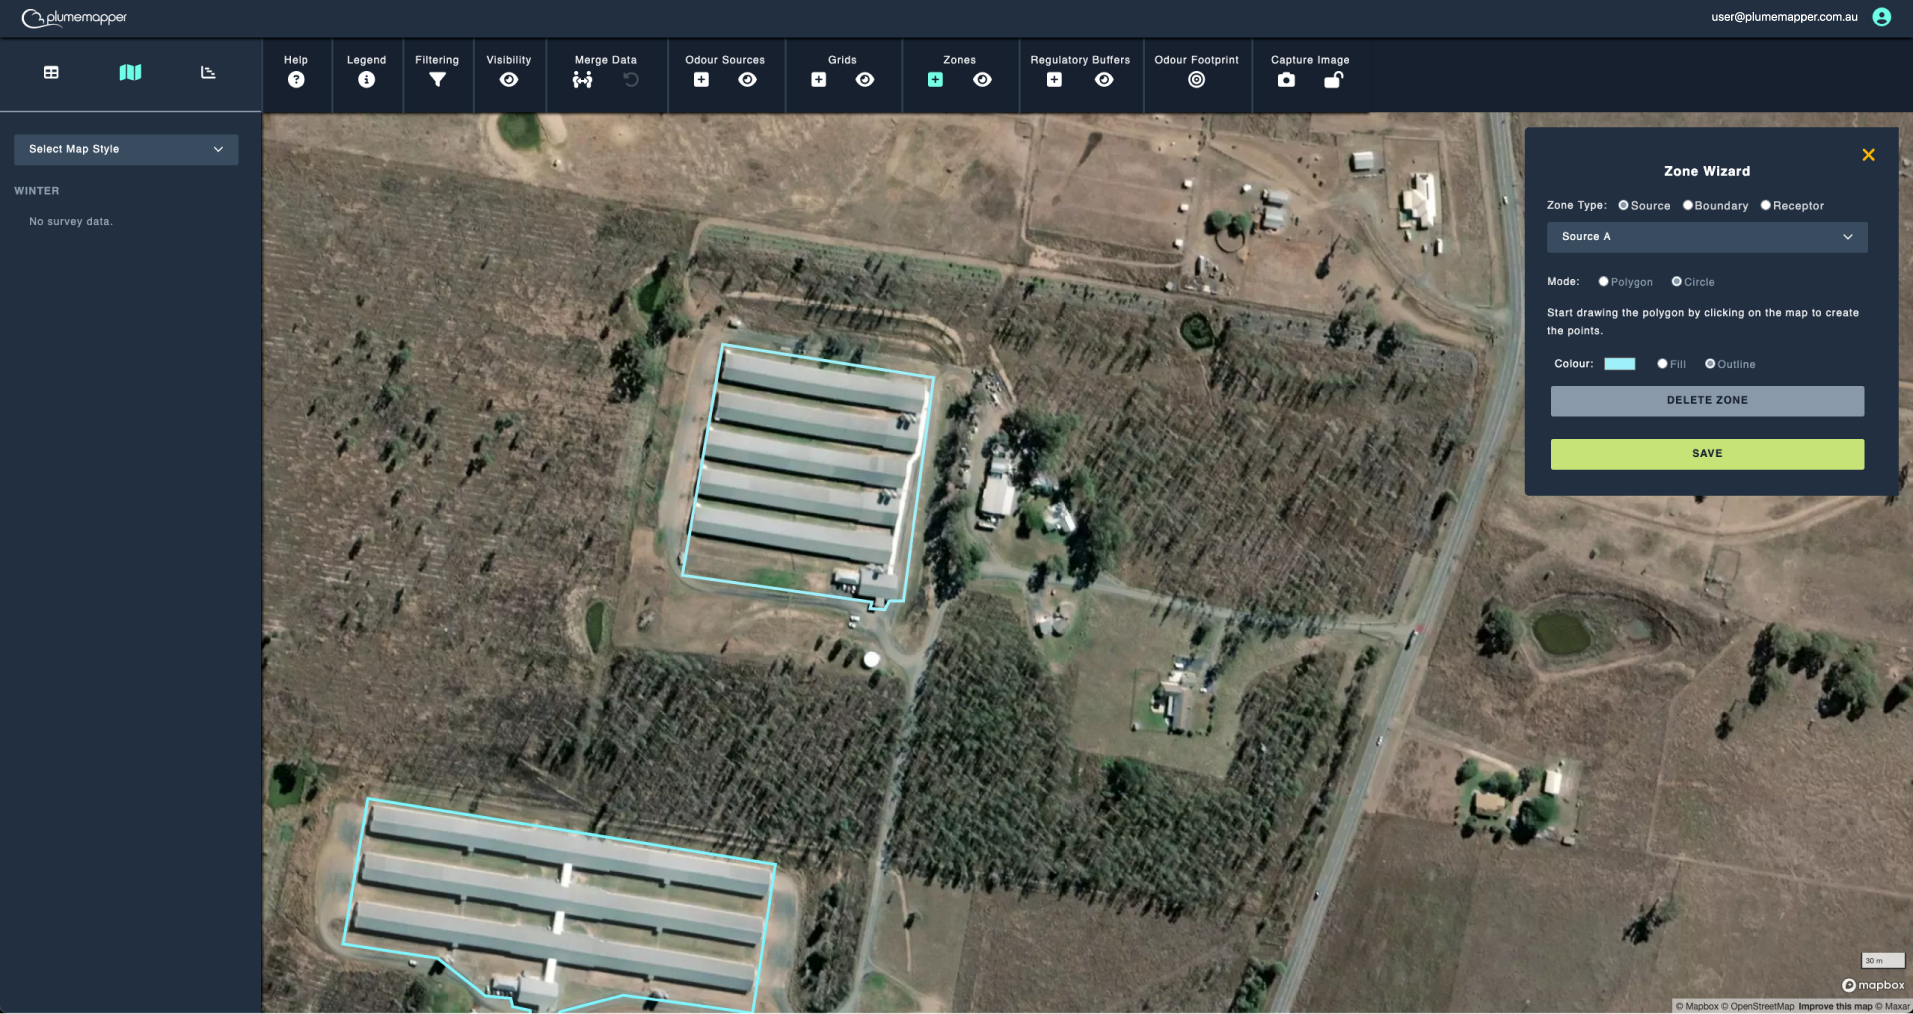
5. Close the polygon:
- Align the first dot with the last dot.
- The zone will change from a dotted line to a white block when closed.
6. After closing the polygon:
- Adjust the colour and fill type as desired.
7. Click the Save button to add the new zone.
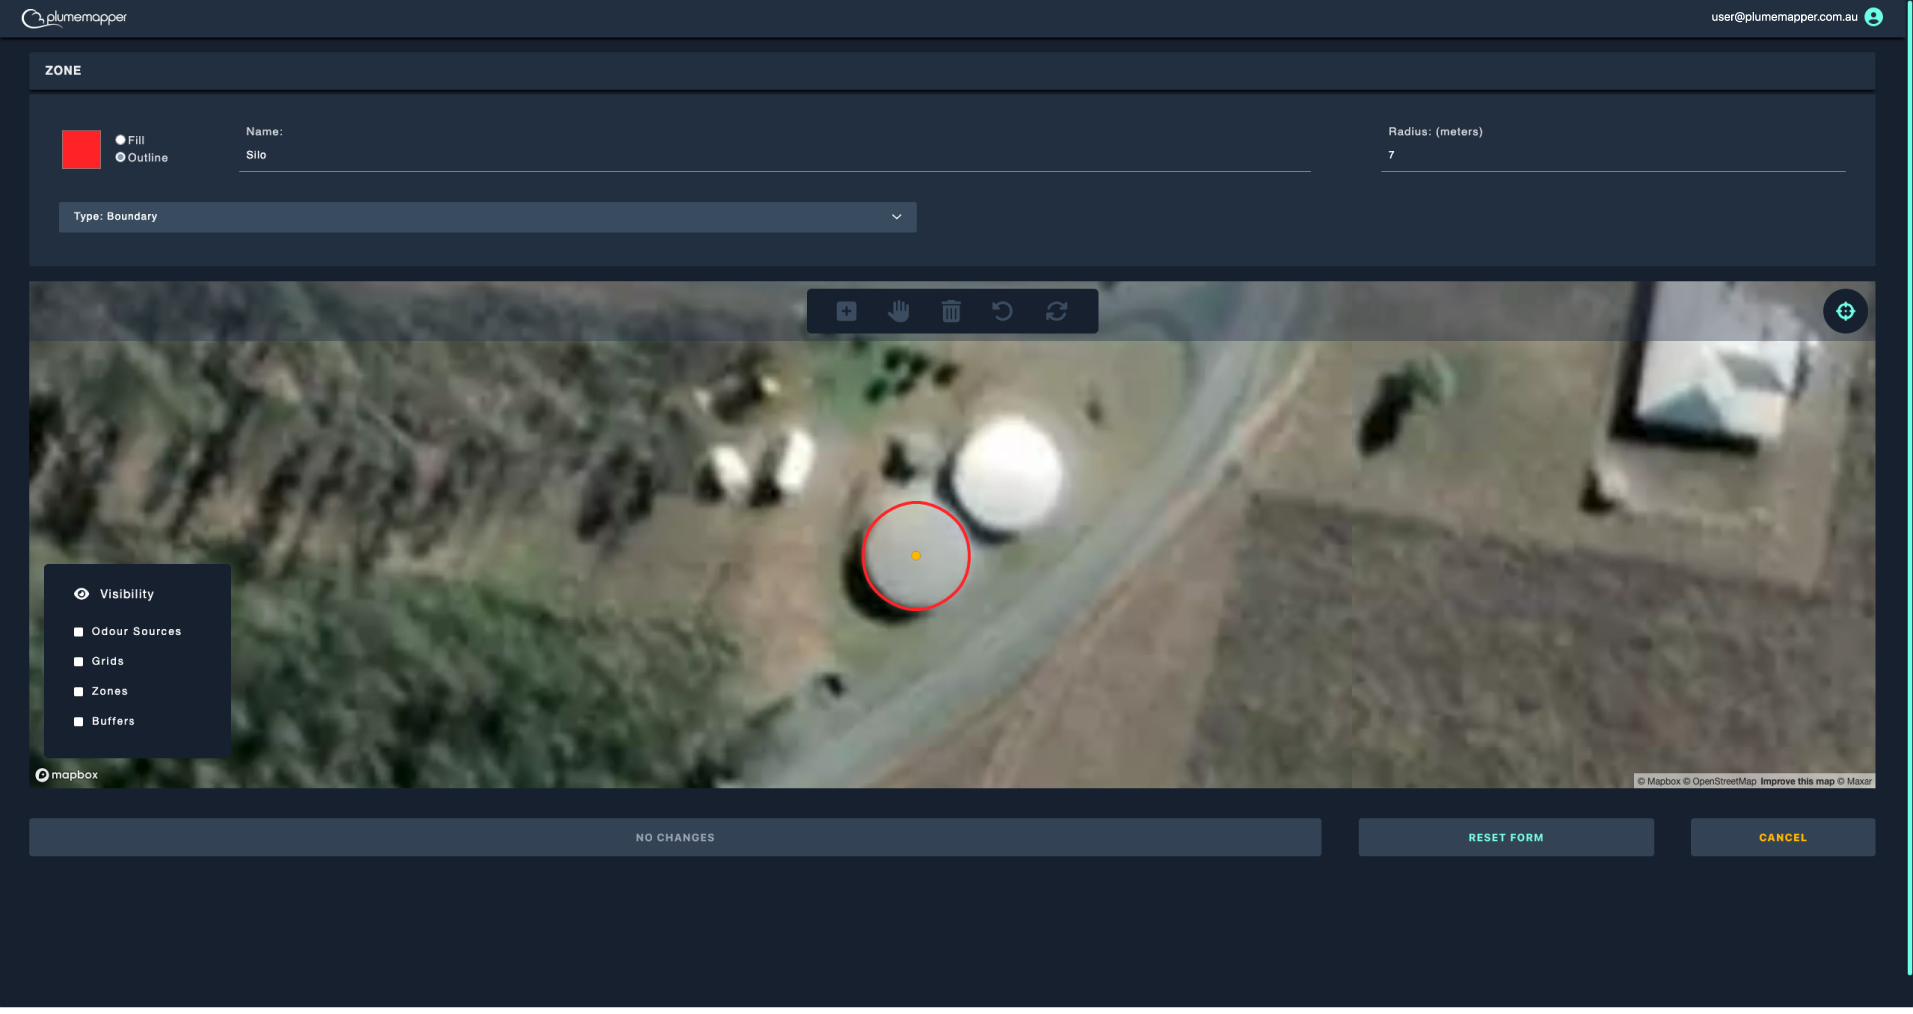
Adding a circular zone:
1. Enter the zone name in the input field, as shown above.
2. Select circle for the mode type.
3. Click on the map, where the center of the zone is located.
4. Enter the radius of the zone
5. Adjust the colour and fill type as desired.
6. Click the Save button to add the new zone.

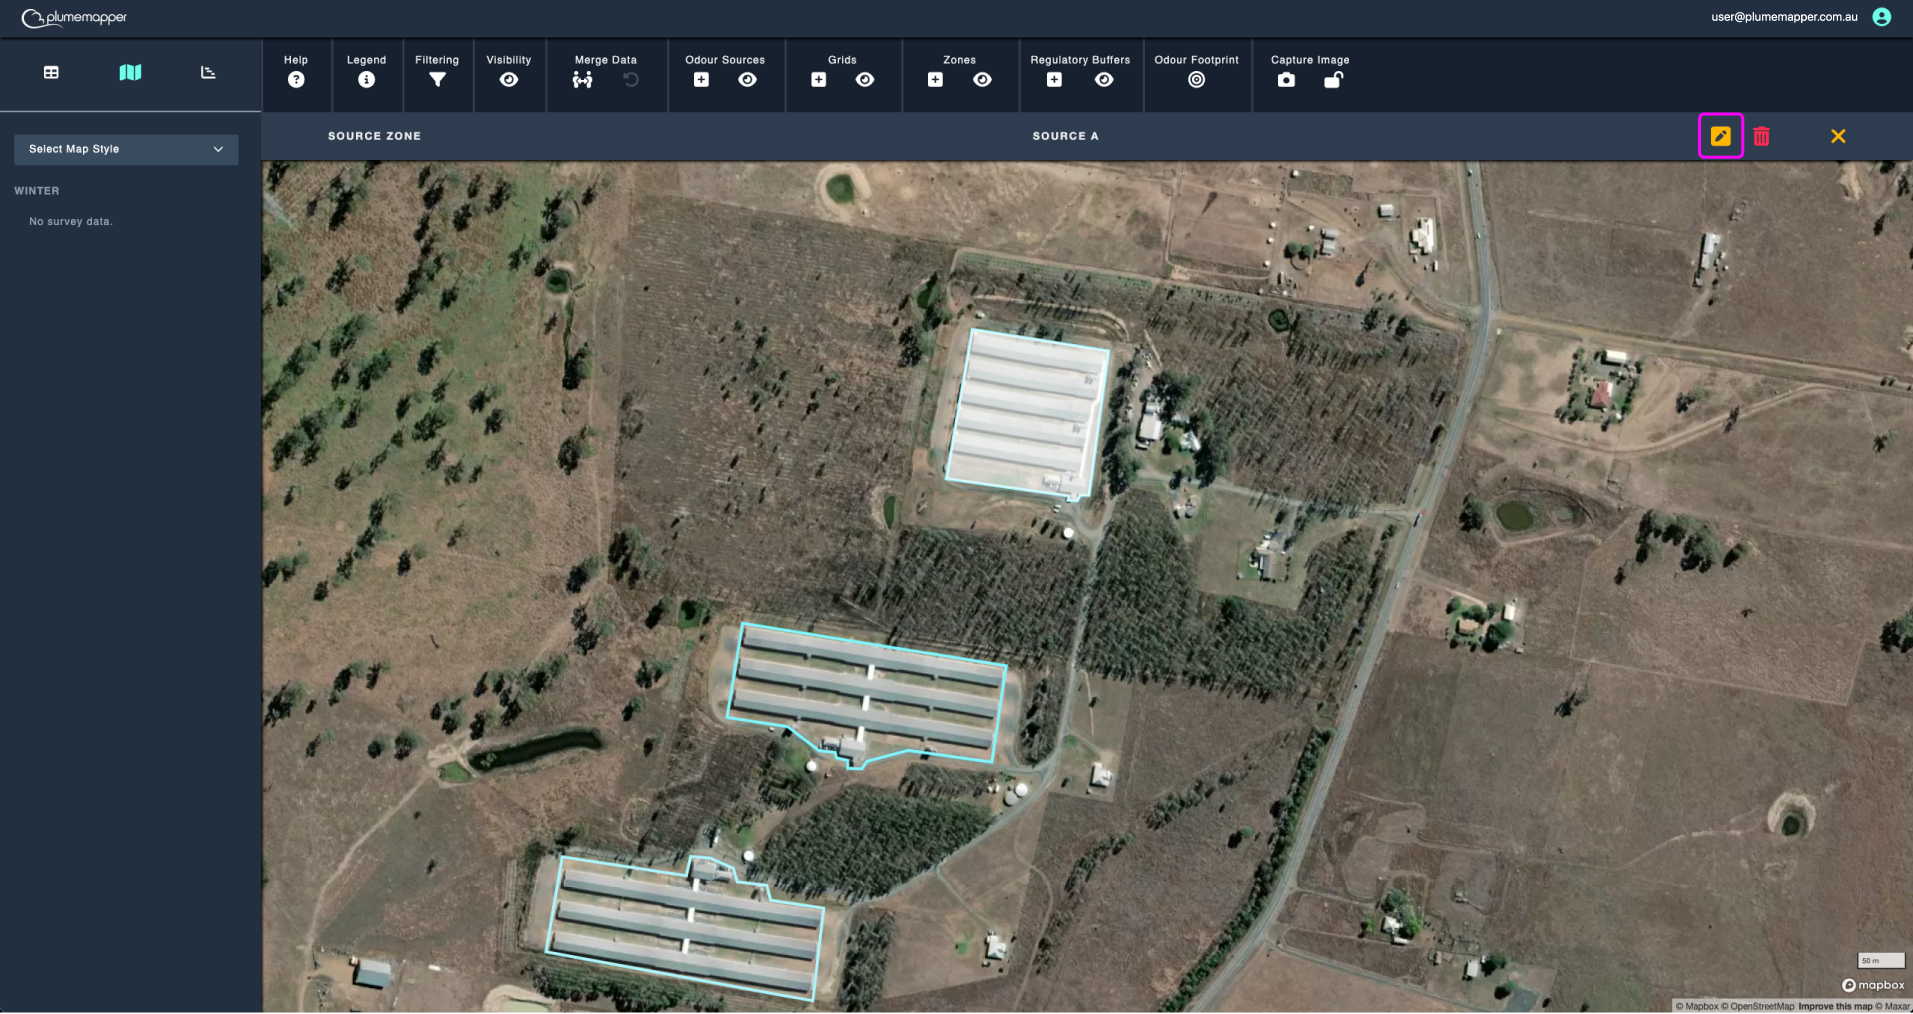
Editing zones:
1. Click on the zone you want to edit.
2. Click the icon in the banner that appears at the top.
Editing a polygon zone:
1. Edit the name, colour, fill type and zone type as desired.
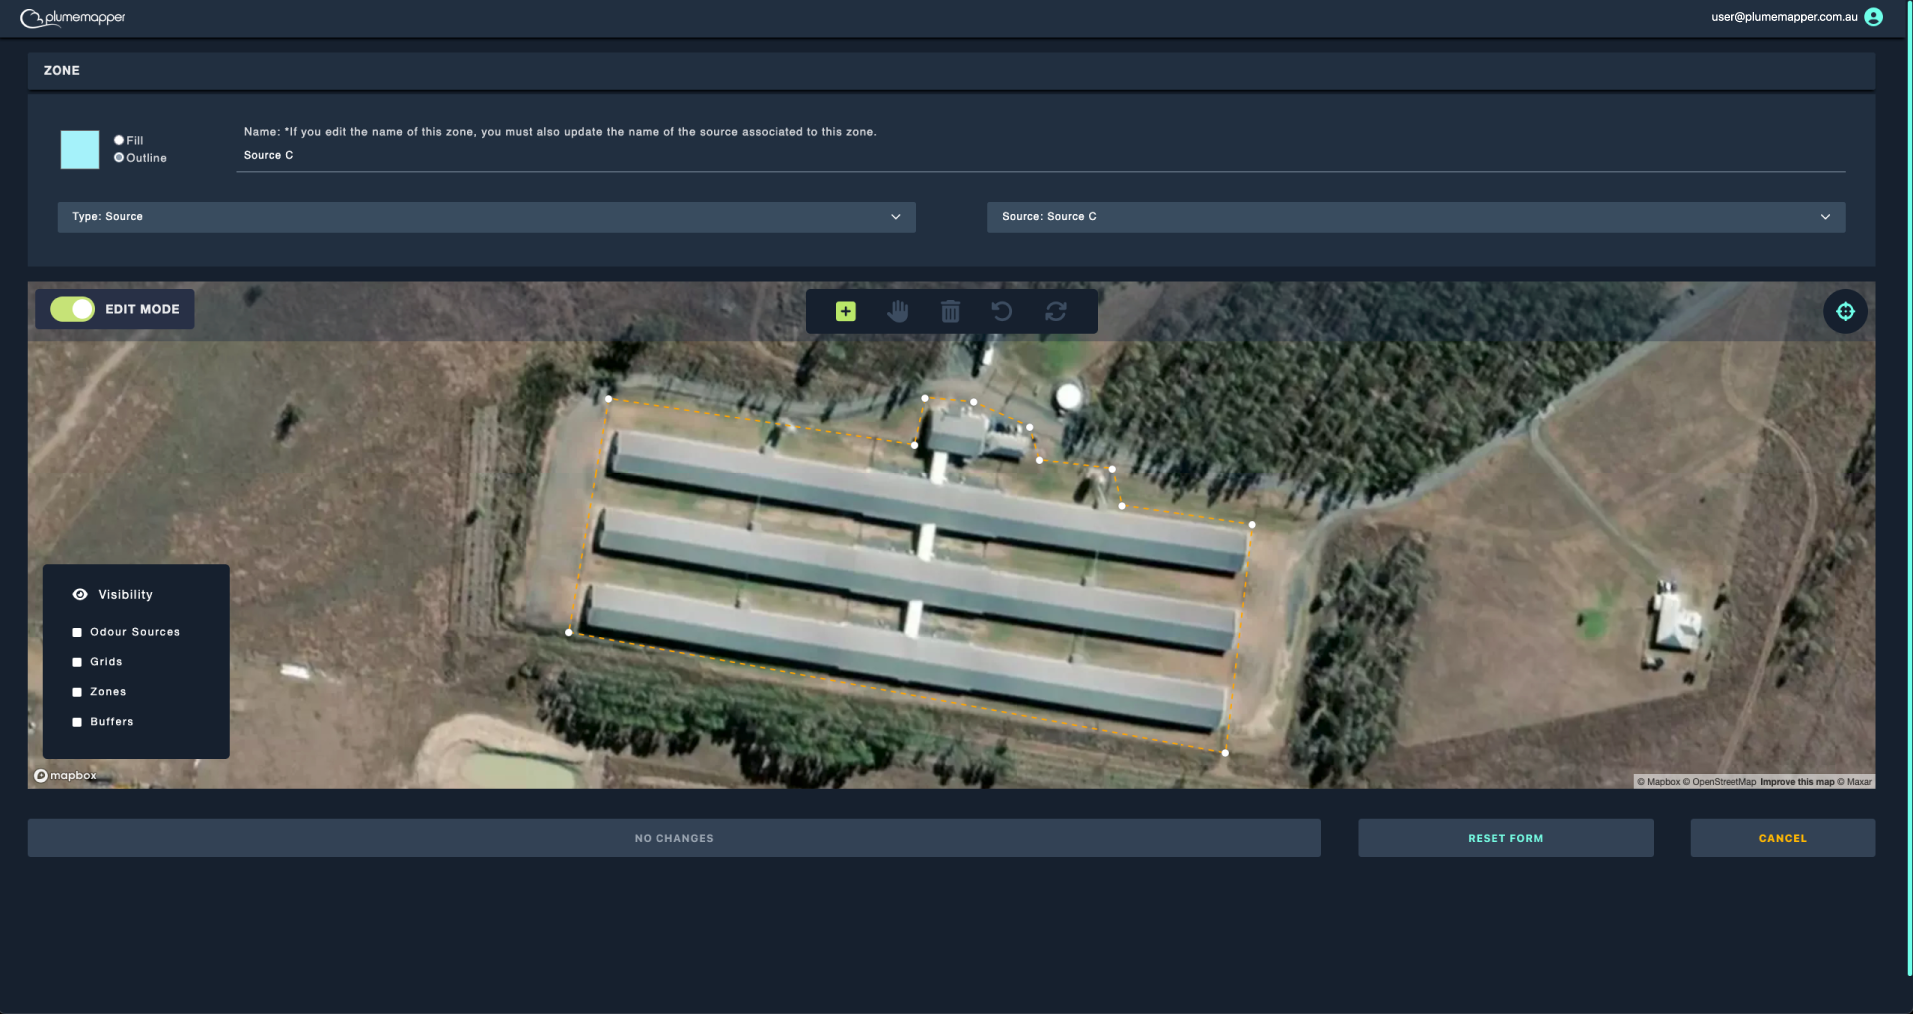
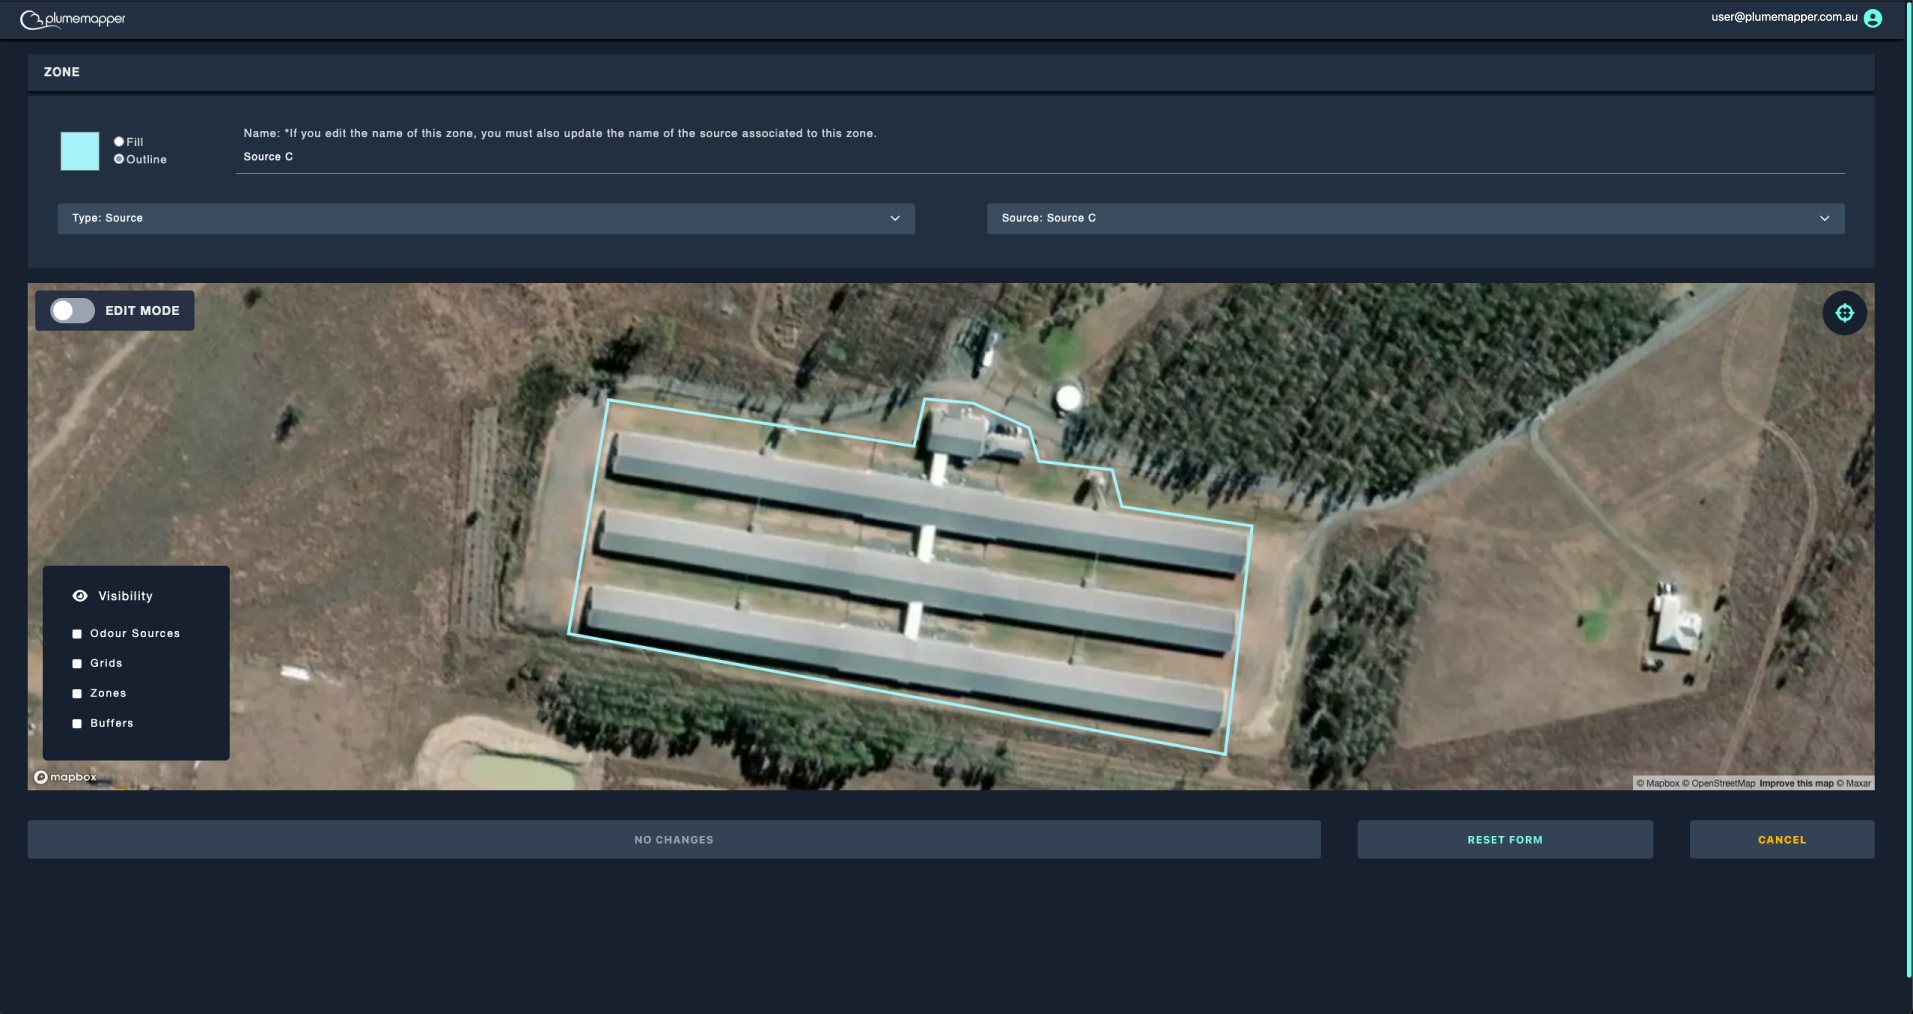
2. Exiting edit mode:
- To preview the colour and fill changes, toggle the edit mode (at the top left of the map) off.
- Then back on to make any further changes to the zone.
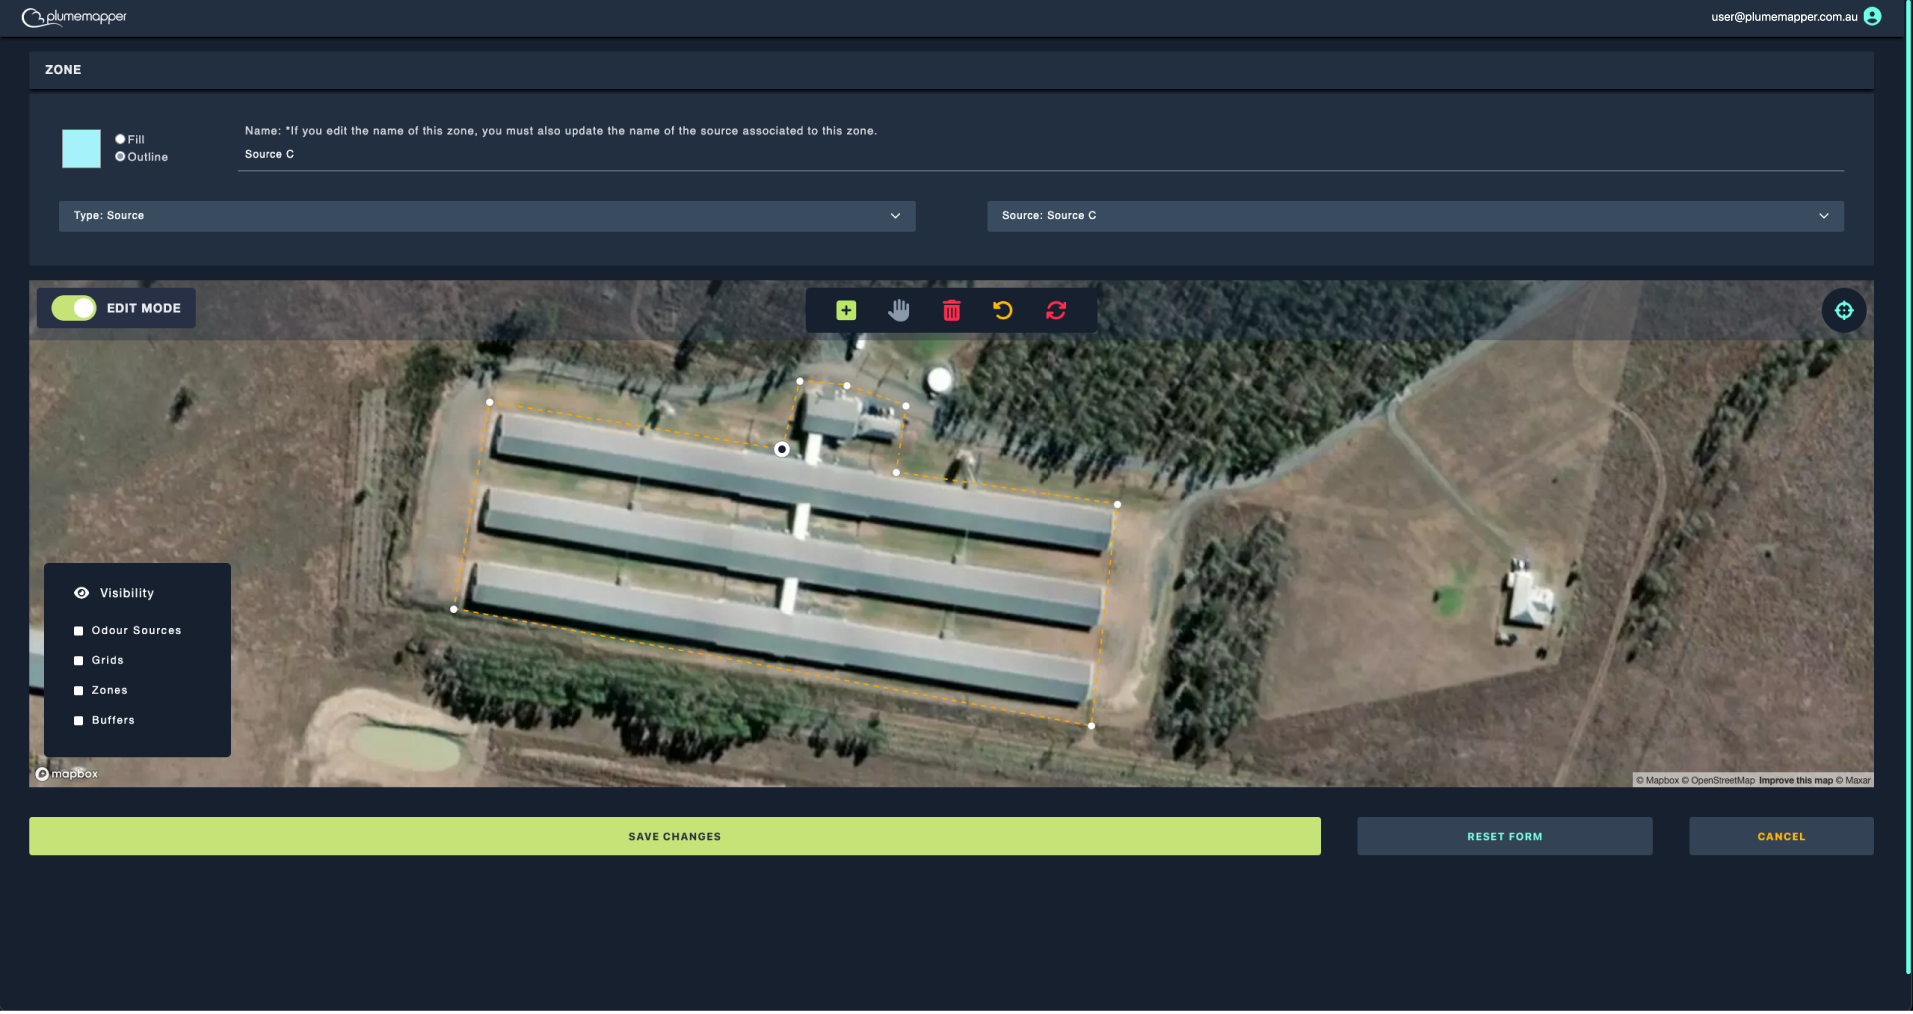
3. Adding new points
- Click the icon, to enter add mode.
- Click the on the map at the location you want to place a new point.
- While in add mode, you can add as many points as needed.
- Exit add mode by clicking the icon.
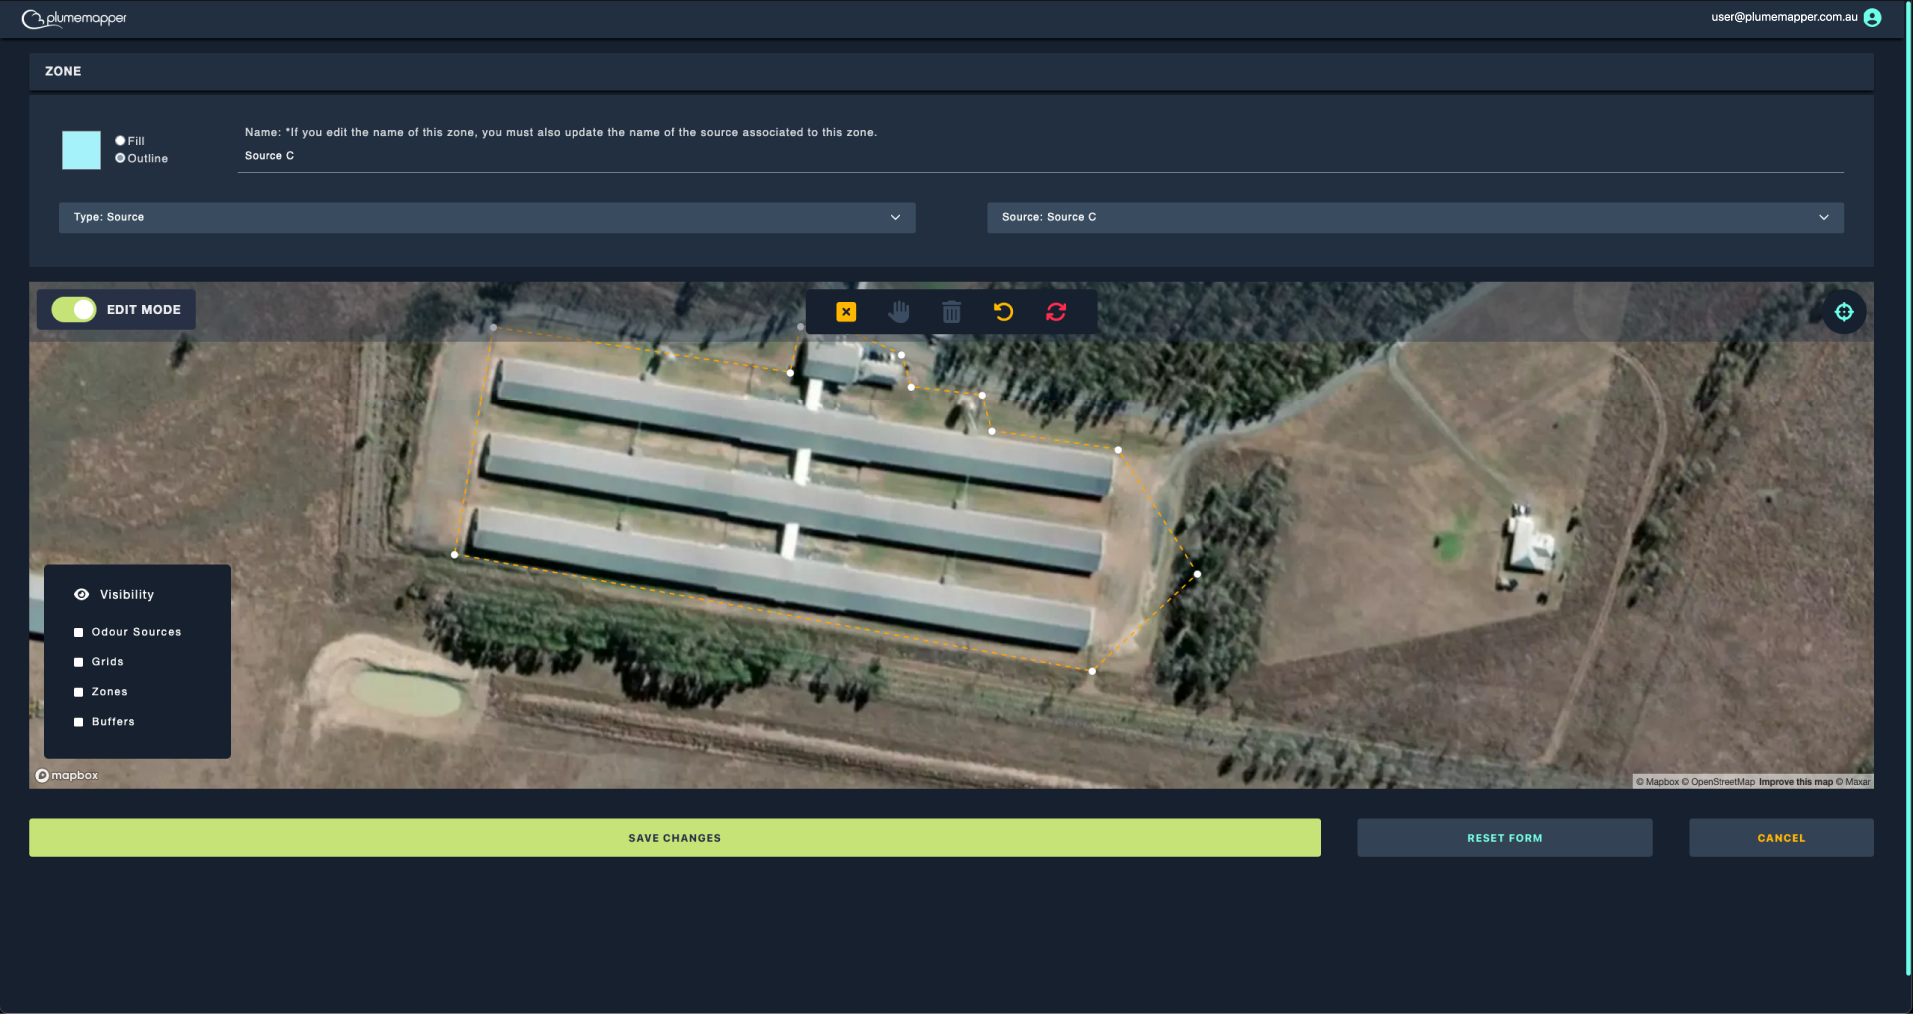
4. Editing existing points:
- Click on the point you want to edit, the marker will change from a white circle to a bigger white circle with a small black circle in the middle.
- Drag it to a new location or delete it by clicking the icon.
- Deselect a point by clicking the icon.
5. To undo any of the actions, click the icon.
6. To reset the polygon back to it’s original state, click the icon.
7. Click Save Changes to confirm and save your changes.
8. To reset the zone completely, click the Reset Form button at the bottom of the page.
9. Click Cancel to navigate back to the previous page, without saving any changes.
Note:
If the buttons are disabled (greyed out), it means there are no changes.
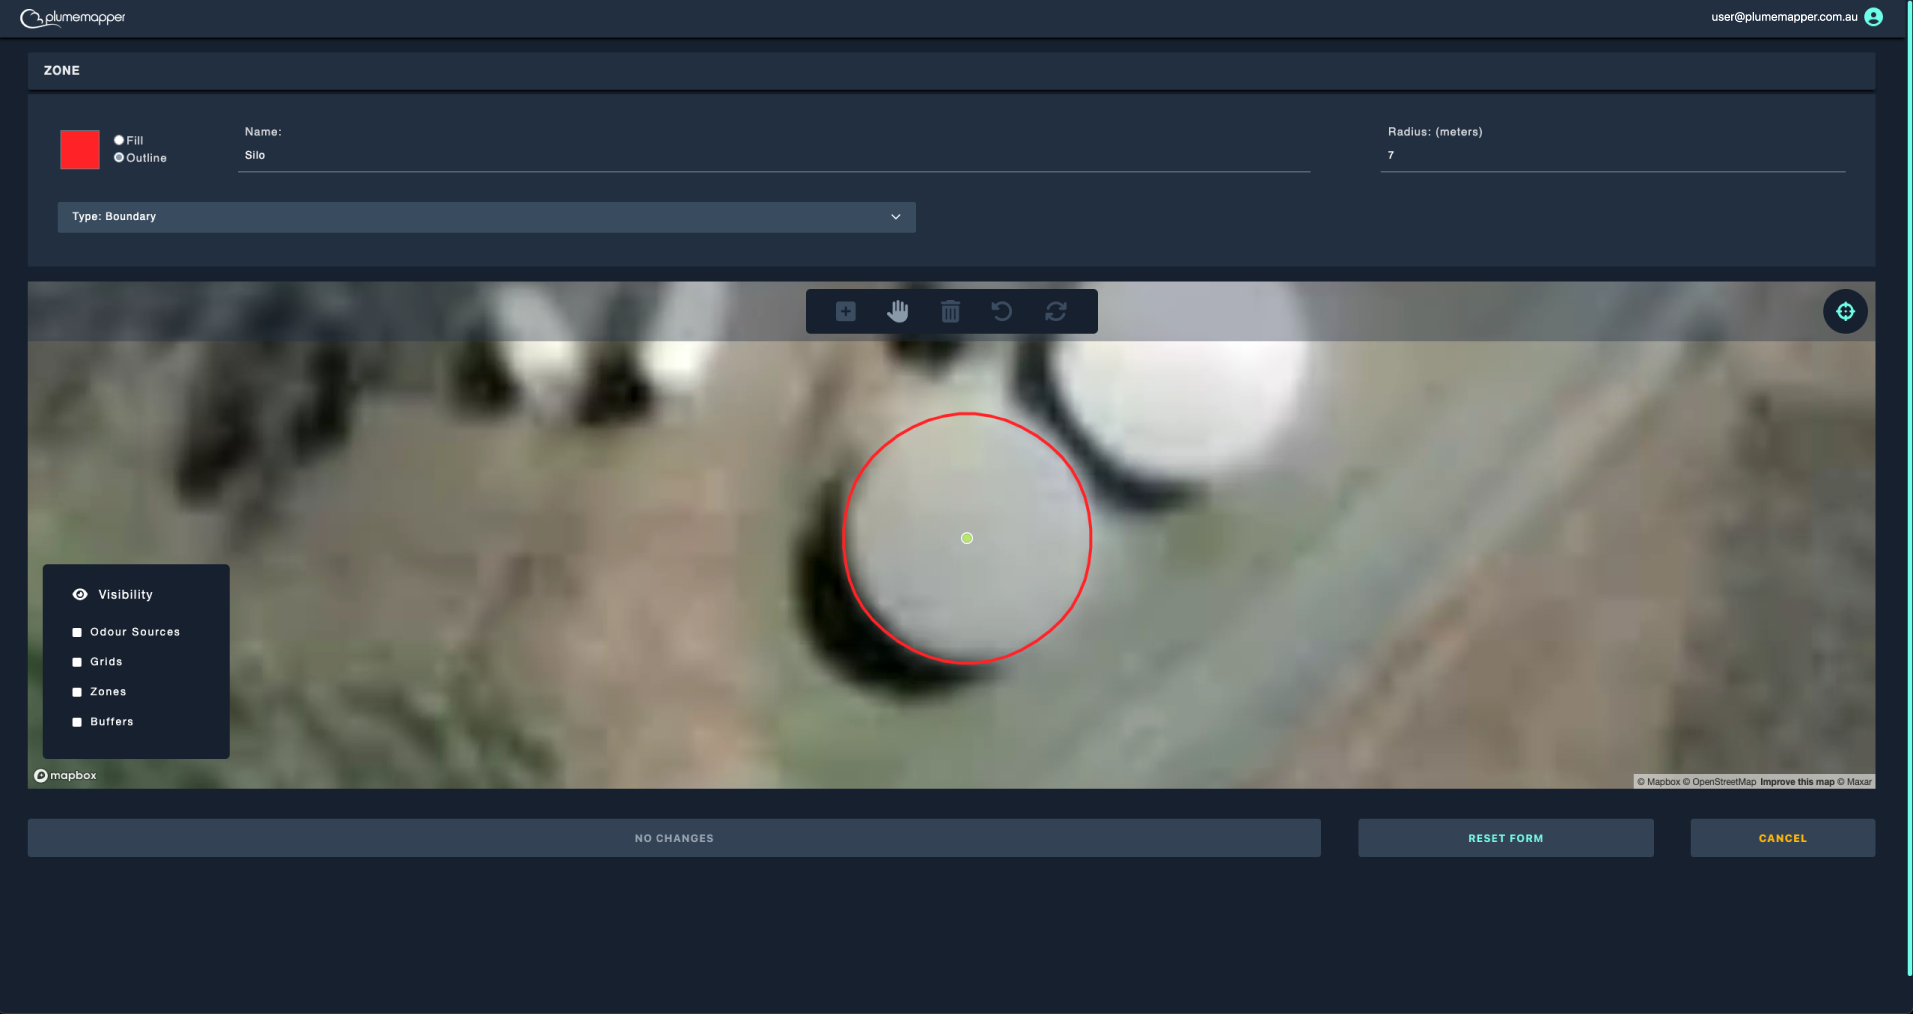
Editing a circular zone:
1. Edit the name, colour, fill type, zone type and radius as desired.
2. To move the center of the zone:
- Click on the center point; it will change to green with a white border and the icon will be highlighted in the menu.
- Drag the center marker to the new location, then deselect it, by pressing the icon.
3. Press the Save button once finished, to save the edited zone.
Deleting zones:
1. Click on the zone you want to delete.
2. Click the icon in the banner that appears at the top.

3. Confirm deletion, by clicking Delete in the modal that pops up.
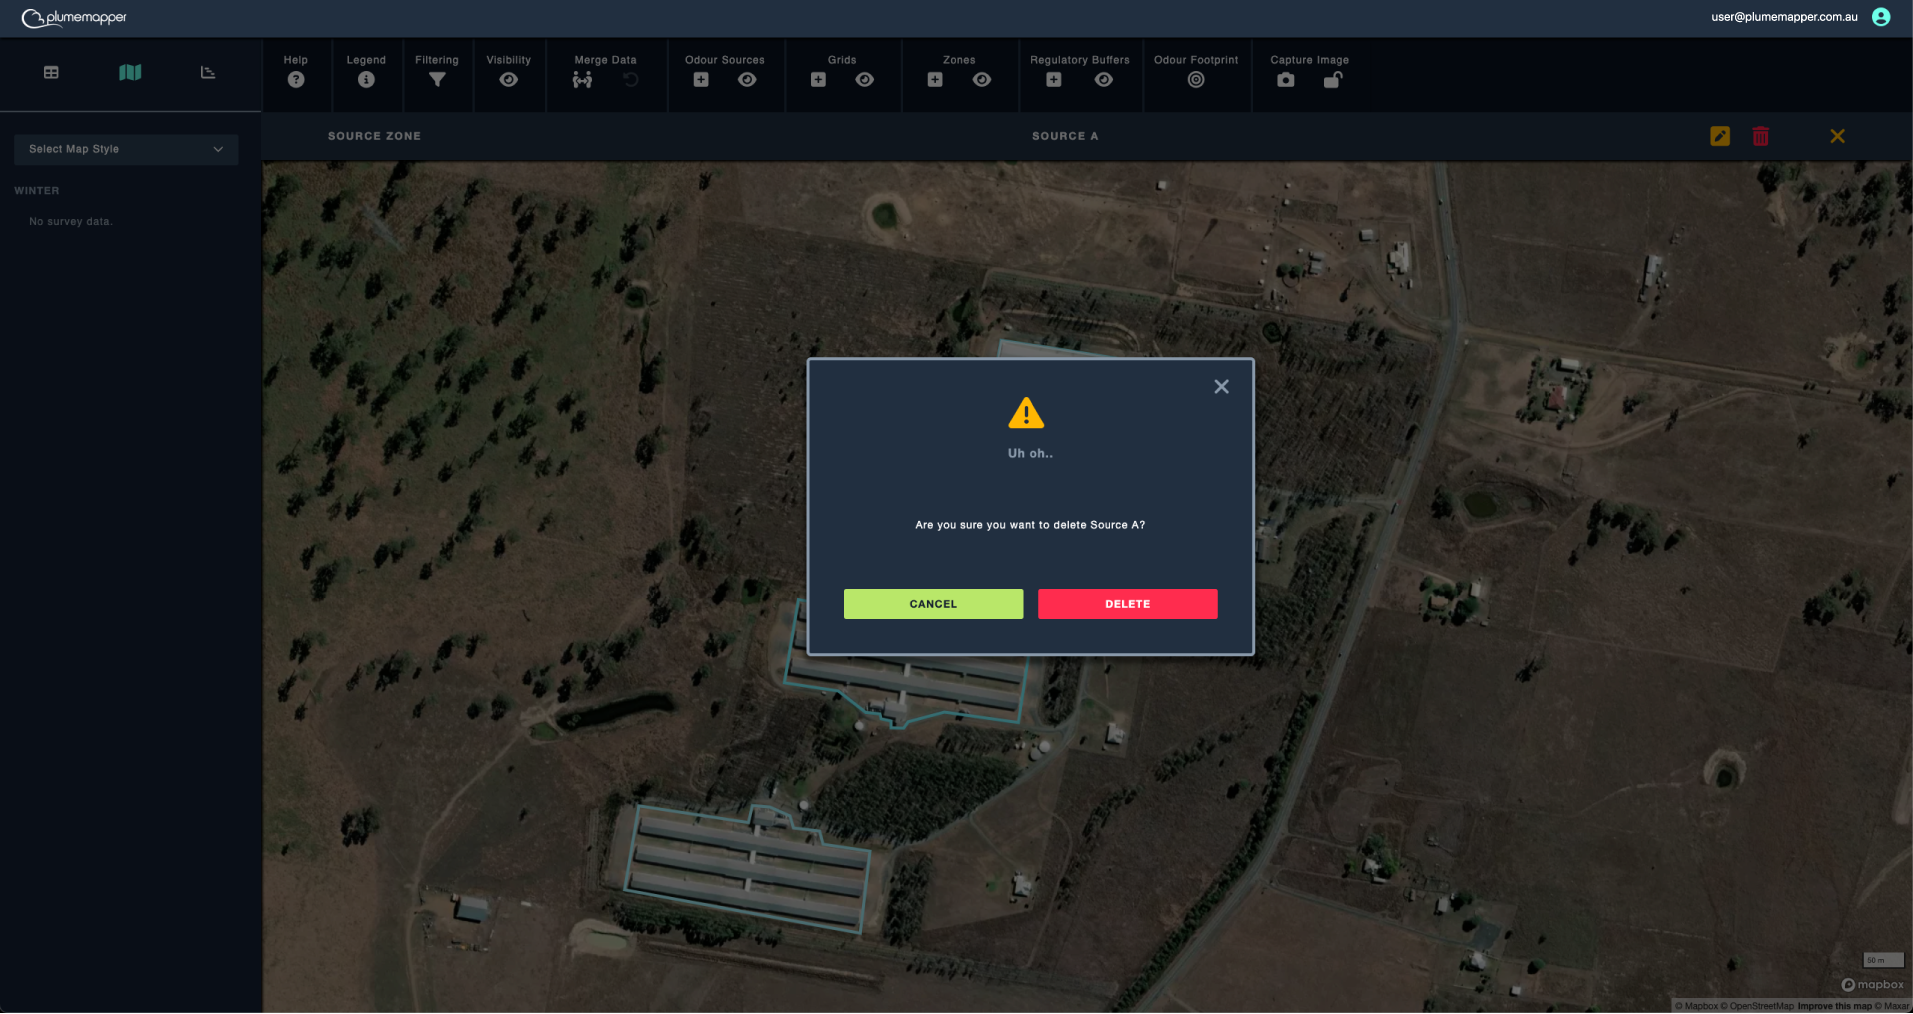
Note:
Deleting a zone is permanent and cannot be undone.
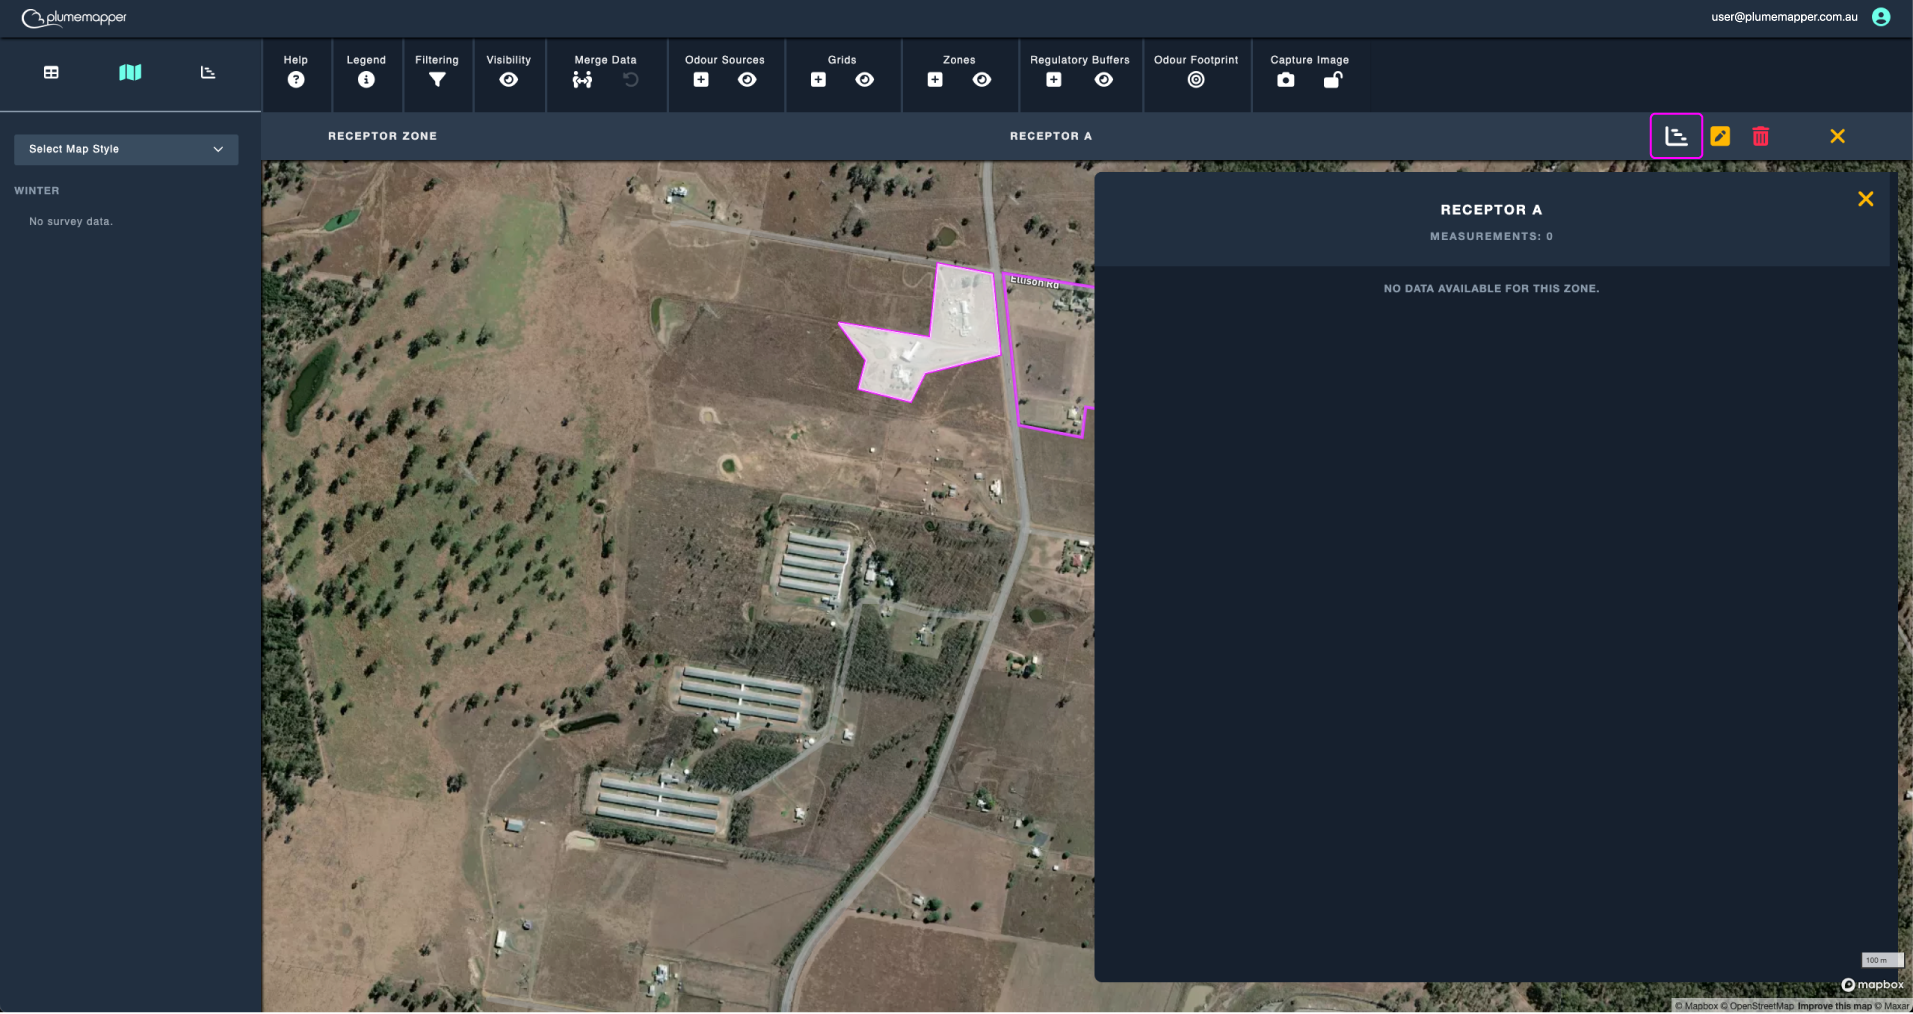
Receptor Zone Statistics:
Clicking on the icon in the panel, after selecting a receptor zone on the map, will bring up statistics on all the measurements that are inside of the zone.
Note:
This project has no measurement data, as it was created for demonstration purposes.